Table of Contents
- What Is Inpainting and How Does It Actually Work?
- Why Is Inpainting Suddenly Everywhere in 2025?
- How to Fix Messy Backgrounds Without Ruining the Shot
- AI Inpainting vs Traditional Editing: What’s the Difference?
- What Are the Best Inpainting Techniques for Pros?
- Common Mistakes That Ruin the Illusion
- The Future of Inpainting (It’s Moving Fast)
- Listen to This Article
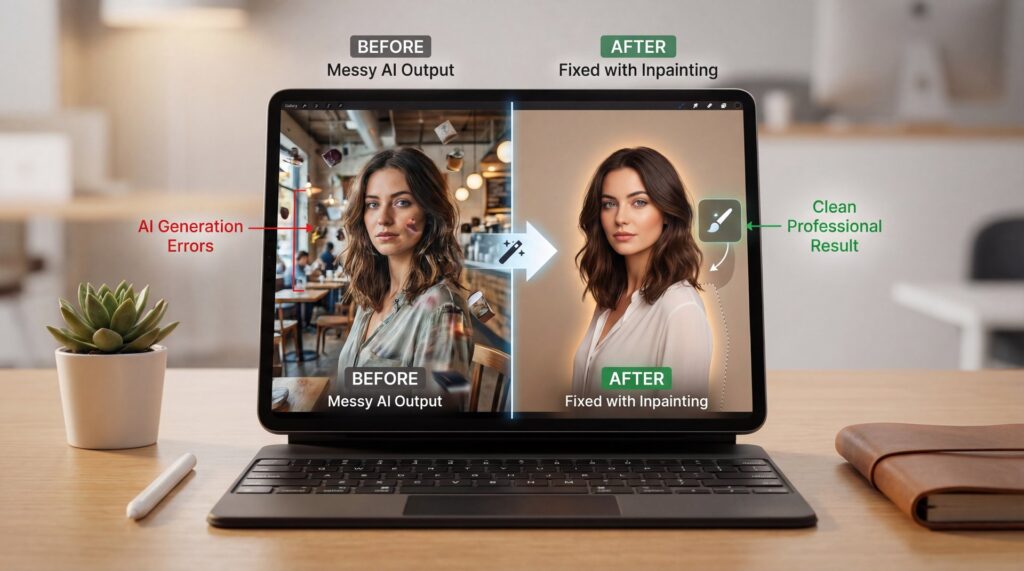
All right, so we’ve all been there. You generate this absolutely stunning image—the lighting on, you know, the subject is perfect, the expression is exactly what you wanted—but then you look at the background. And honestly? It’s a mess. Maybe there’s, you know, a random extra limb floating in the corner or the “coffee shop” looks more like a spaceship.
I was chatting with Dr. Morgan Taylor, our AI & Technical Lead here, just the other day about this. She mentioned how she spent twenty minutes trying to get a perfect shot for a demo, only to realize the AI had put a three-headed cat in the background. You can’t use that.
This is where inpainting comes in.
If you’re wondering “what is inpainting,” think of it like digital bodywork for your images, so instead of scrapping the whole car because of a dent in the fender, you just fix the dent. Inpainting lets you keep the good stuff (your main subject, while you selectively erase and regenerate the bad stuff.
Today we’re gonna go over exactly how this works, why it’s blowing up in 2025 and how you can use it to save your images without starting over. Let’s get under the hood.
What Is Inpainting and How Does It Actually Work?
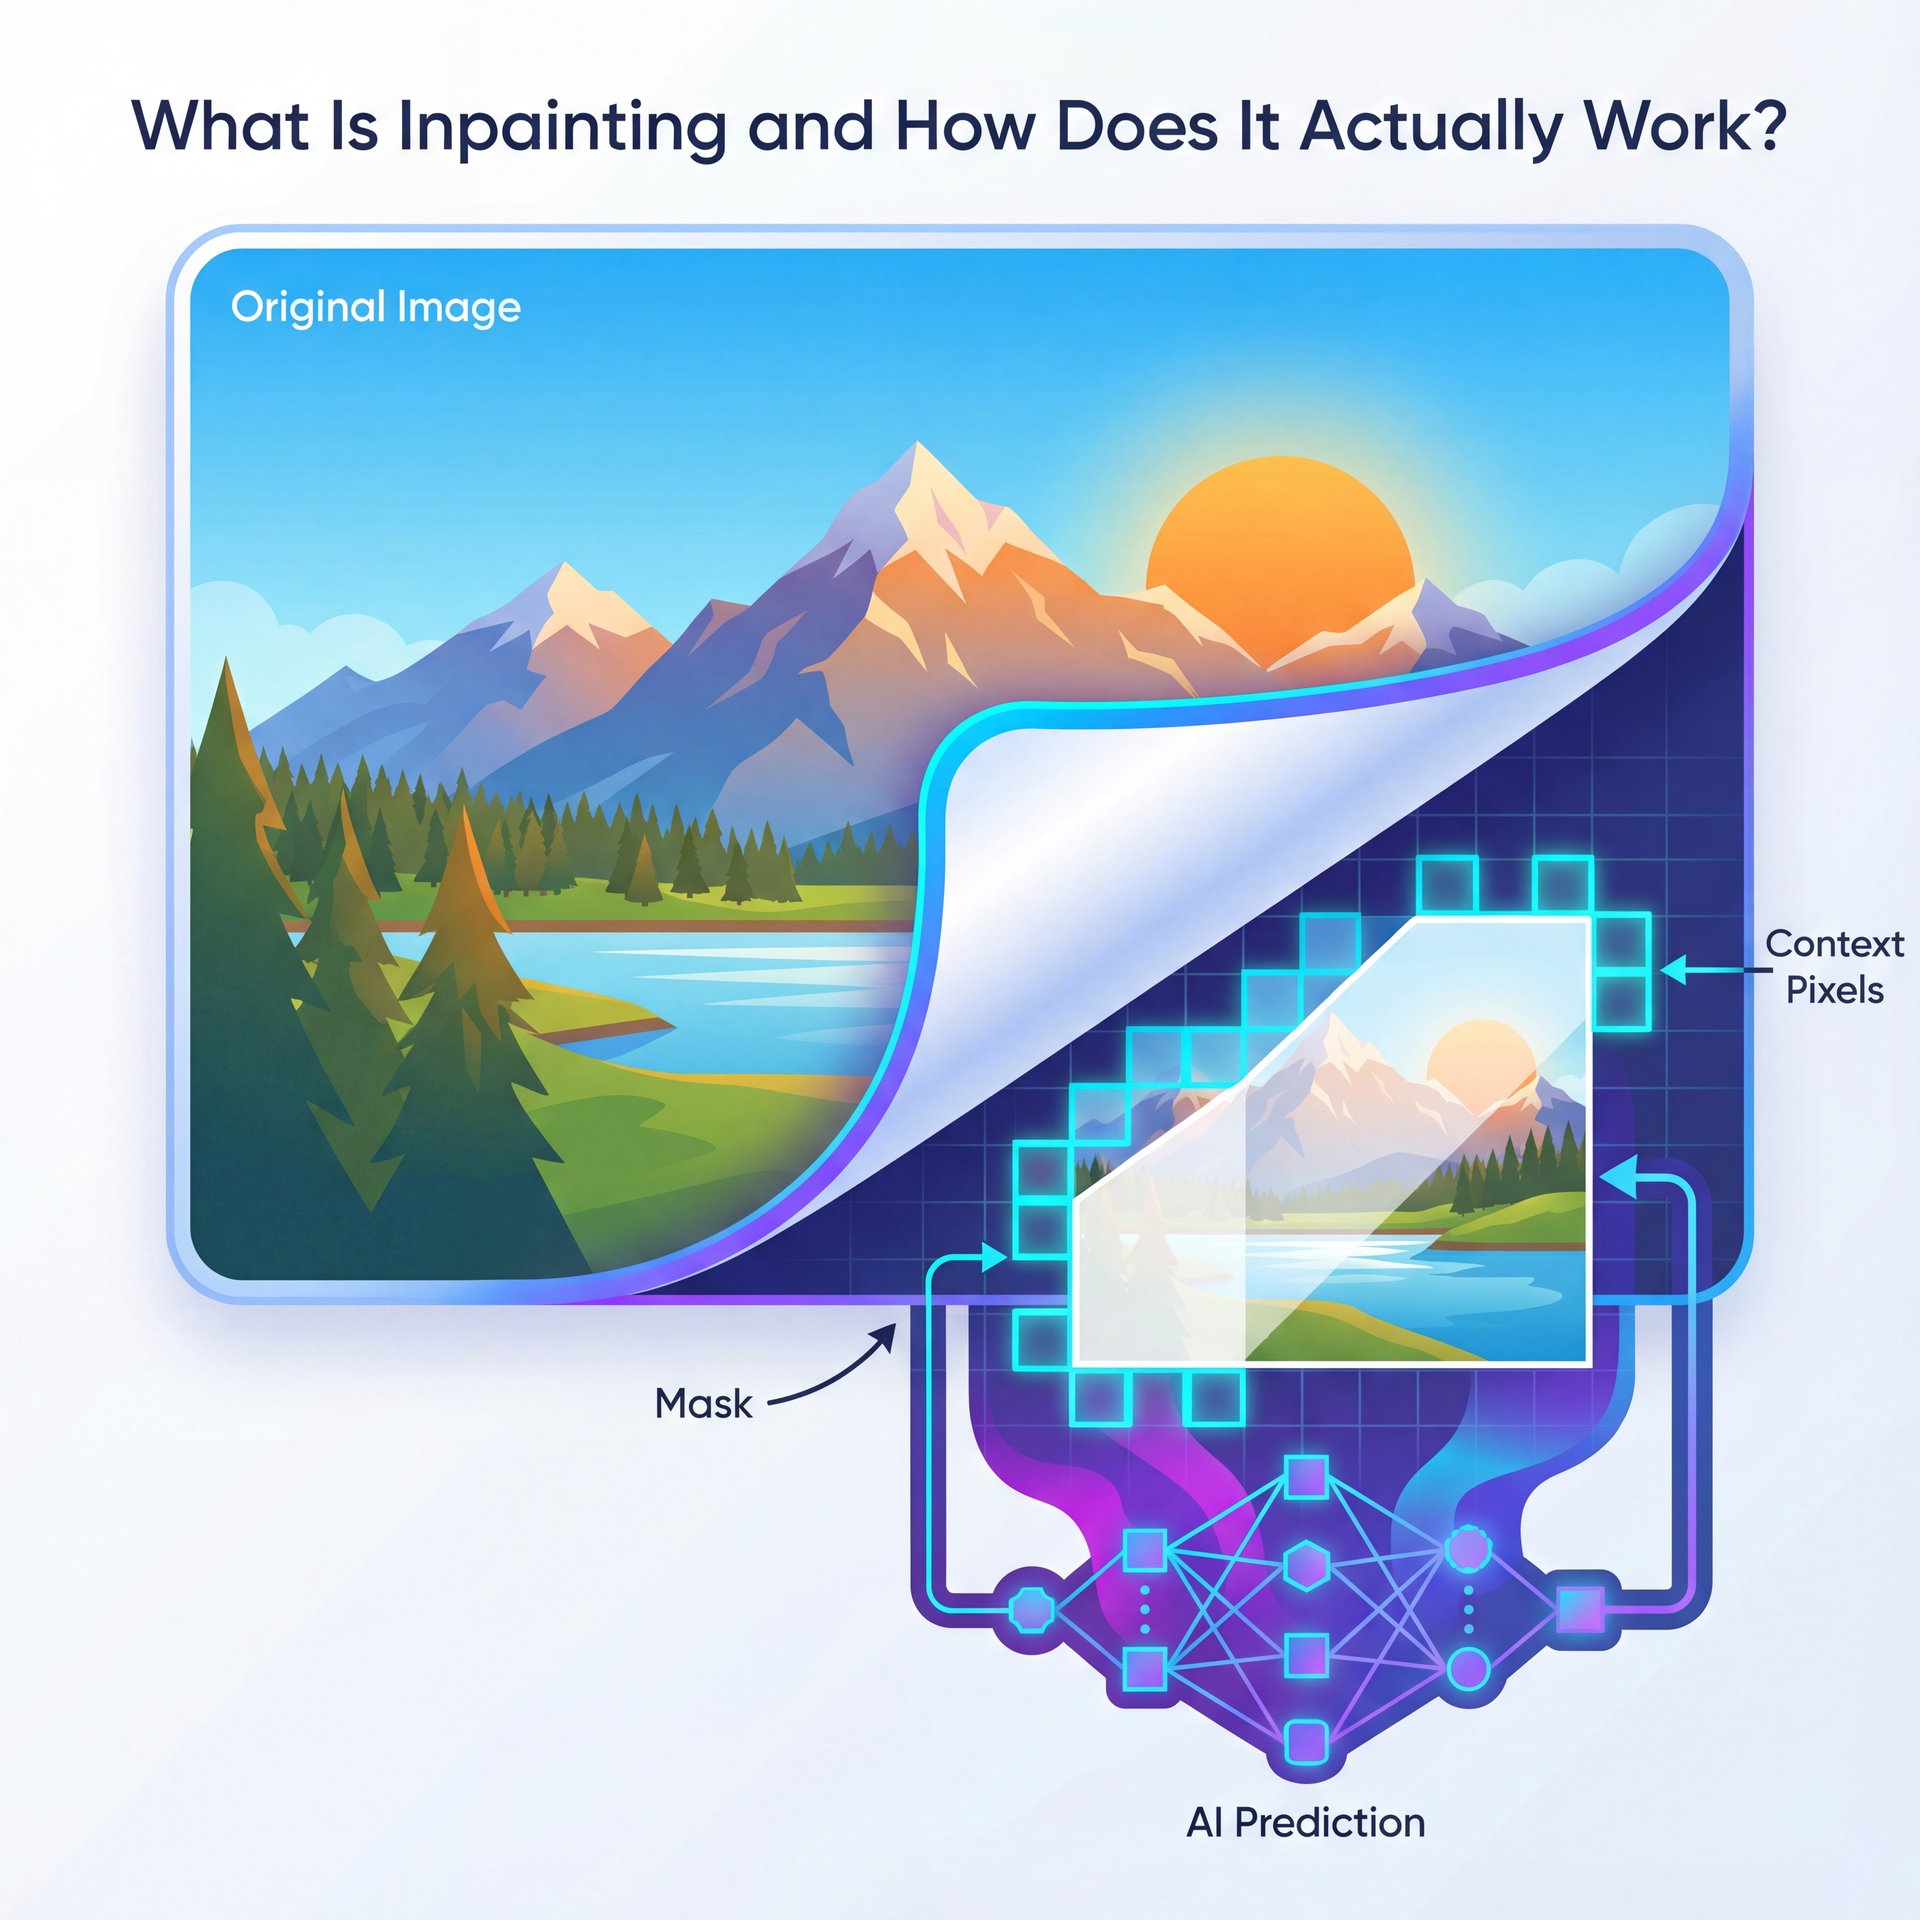
So, let’s break this down simply. Inpainting is an AI technique that fills in missing or masked areas of an image. You essentially take a digital brush, paint over the part you hate (that’s the “mask”), and tell the AI, “Hey, fix this.”
The AI looks at the pixels around that hole (the context, and predicts what should be there based on your text prompt. Think of What as your starting point. It’s pretty wild when you see it in action.
The Mechanics of the Mask
When you paint that mask, you’re creating a binary map. White usually means “change this,” and black means “keep this.”
I’ve found that a lot of beginners get frustrated here because they treat it like a coloring book. Consider What the foundation. They try to stay perfectly inside the lines. But in my experience, you actually want to overlap the edges just a tiny bit. This gives the AI some “bleeding room” to blend the new pixels with the old ones. If you don’t give it that room, you get what we call “seams”. harsh lines that look like a bad Photoshop job from 2005.
Generative Fill vs. Traditional Cloning
Back in the day, if I wanted to remove a trash can from a photo, I’d use a clone stamp. I’d literally copy pixels of grass from the left and paste them over the trash can on the right. It worked, but if the lighting was different, it looked fake.
Inpainting doesn’t copy pixels. It dreams new ones. It understands that “grass in shadow” looks different than “grass in sunlight.”
Pro Tip: When inpainting a background, try to describe the lighting in your prompt (e.g., “soft morning light blur”) to match your (I wish) subject. If the lighting doesn’t match, the whole image falls apart.
Why Is Inpainting Suddenly Everywhere in 2025?
You might be thinking, “Is this just another fad?” But honestly, the numbers tell a different story. No joke.. It’s What that drives results. The demand for CLEAN, professional images is skyrocketing, and the old ways just aren’t cutting it anymore.
The Explosion of Visual Cleanup
I was looking at some market data recently and it blew my mind. The AI image enhancement market, which includes tools like inpainting (is projected to grow from $2).11 billion in 2024 to $2.45 billion in 2025. That’s a 16.11% jump in just one year and it’s expected to reach $4.95 billion by 2029.
Why? Because speed matters.
If you’re running an e-commerce brand, you can’t afford to spend days retouching photos. I saw a case study about an e-commerce brand that used AI inpainting to refresh 2,000 product backgrounds. They cut their timeline from 6-8 weeks down to just 10 days and reduced costs by 63%, so that’s the difference between missing a season and hitting it.
📊 Efficiency Impact
Before: Retouching a catalog of 2,000 items took 6-8 weeks and cost $45,000 in manual editing fees.
After: Using AI inpainting, the same job took 10 days and cost $16,500 (a 63% savings).
Plus, the investor confidence is real. So far, 81 image enhancement companies have raised $676.6 million across 189 funding rounds. That’s serious money backing this technology.
The Deepfake Problem
Now, here’s the scary part and it’s why “clean” edits are so important. The UK government is projecting that 8 million deepfake images will be shared in 2025. That’s up from 500,000 in 2023, a 1,500% increase.
Because of this flood of fake content, platforms are getting stricter. If your image looks glitchy or has wierd artifacts, people (and algorithms) assume it’s spam or malicious. Good inpainting is the secret to making AI content look legitimate and professional.
How to Fix Messy Backgrounds Without Ruining the Shot
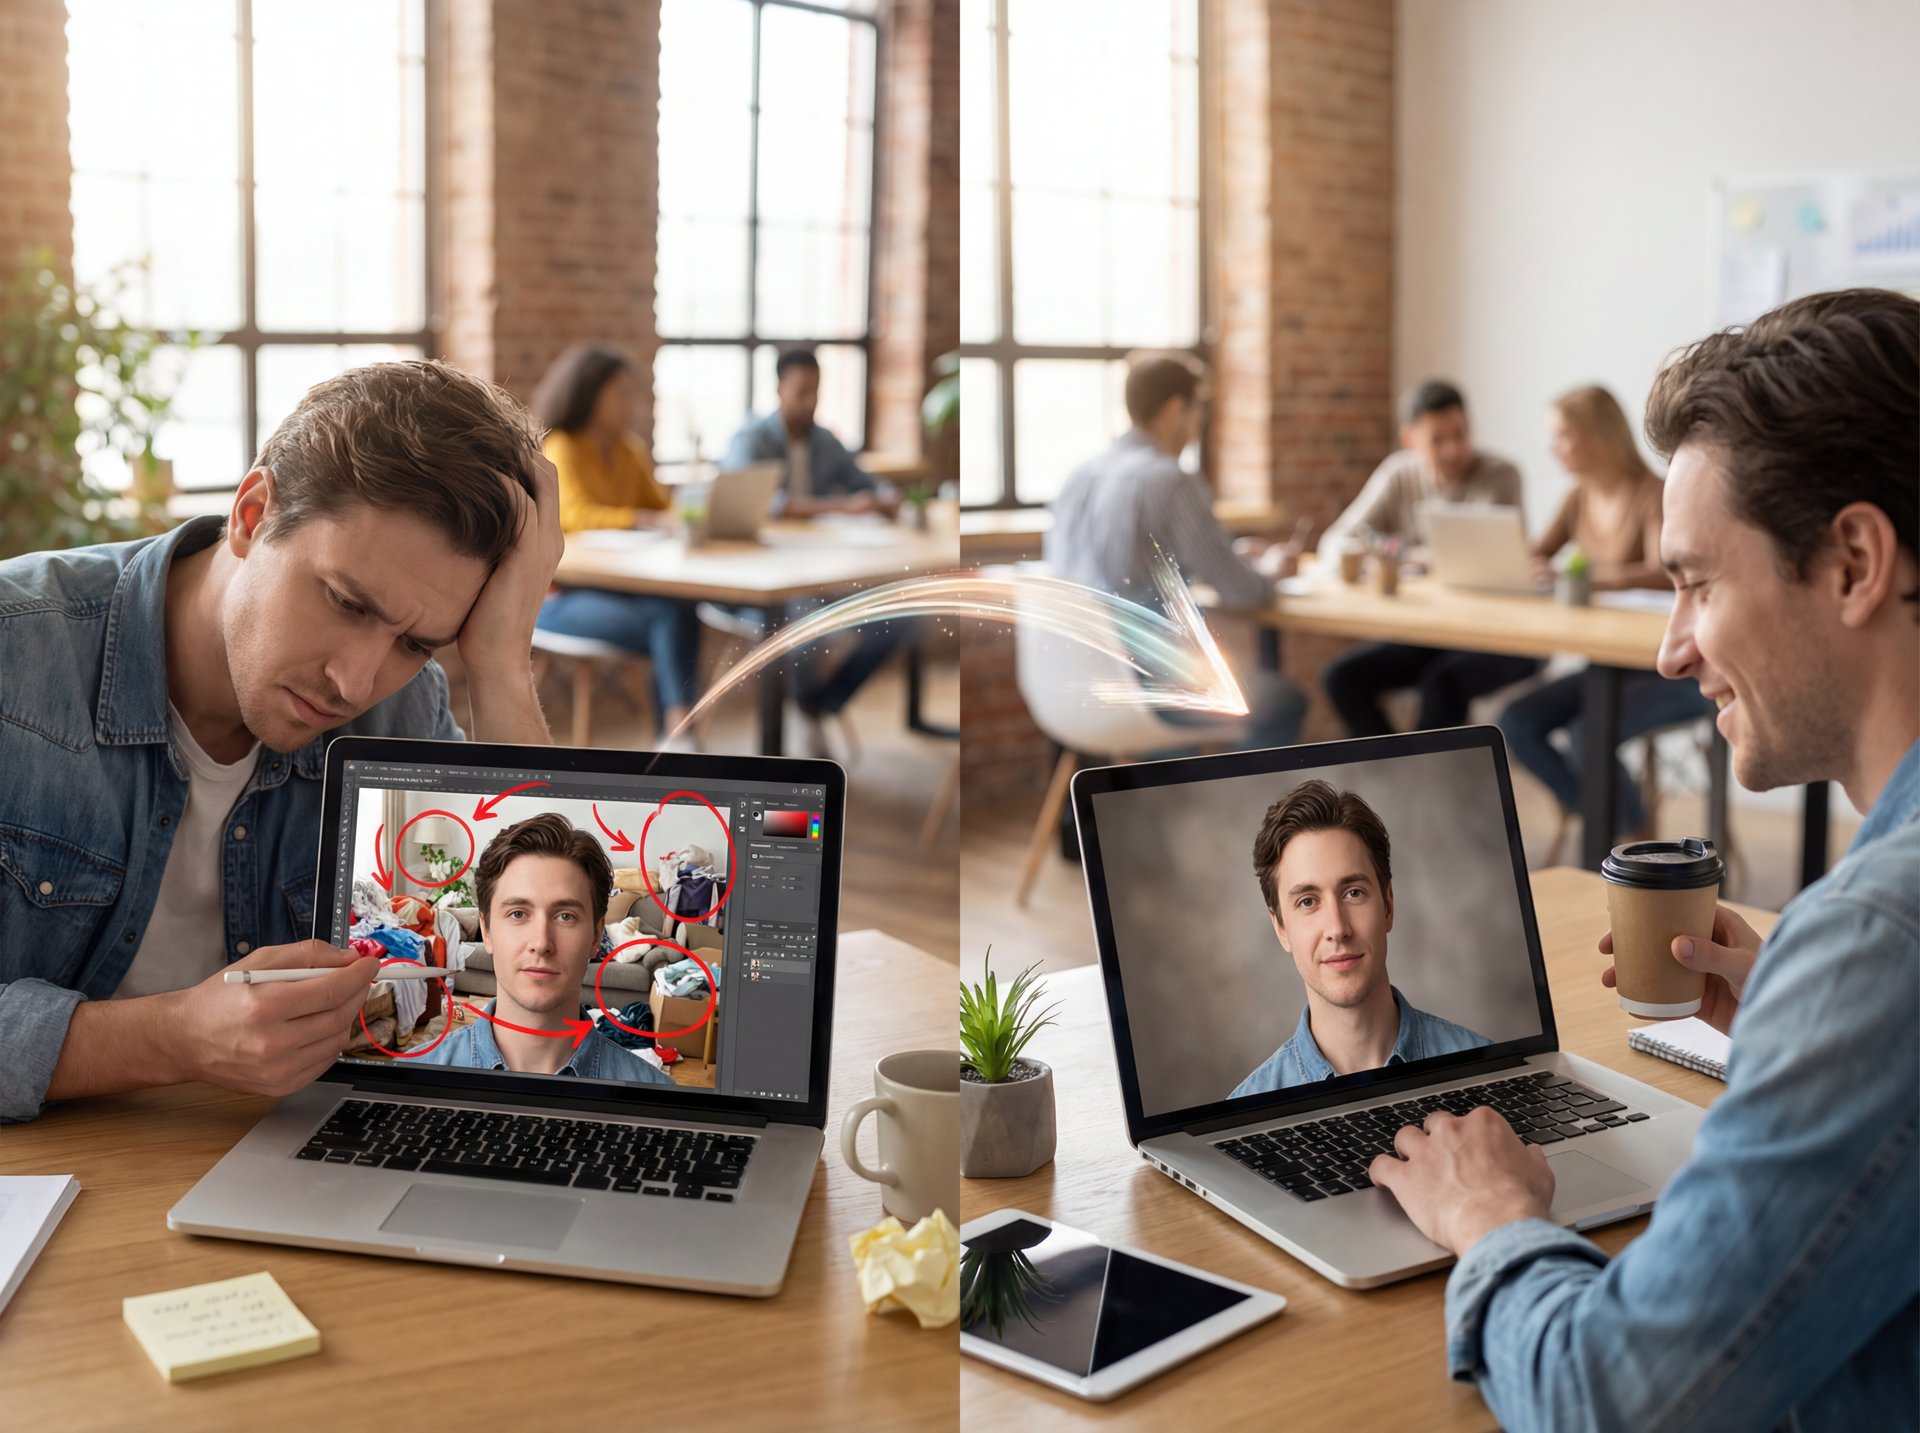
So, you’ve got a messy background. How do we actually fix it without making it worse? I see a lot of people struggle here, so let’s walk through the process.
Step 1: The Selection Strategy
First thing you want to do is assess what needs to go. Is it just a stray object, or is the whole background wrong?
(Or something.)
If it’s just an object, use a brush slightly larger than the object. If it’s the whole background, you need to be careful around your subject’s hair and edges. I’ve noticed that casual users often struggle with the masking tools (you paint over the background, but accidentally clip the subject’s shoulder. When the AI regenerates the background, it sees that missing shoulder and tries to “fix” it, usually by giving your subject a weird mutant arm.
Step 2: The Prompt Game
Once you’ve masked the area, you need to tell the AI what to put there. If you leave the prompt blank, the AI will guess based on the surrounding pixels, which means sometimes that’s fine, but usually, you want to be specific. Instead of just “office,” try “blurred modern office background, bokeh, depth of field.”
Step 3: Iteration
Here’s the thing: you rarely get it perfect on the first click. It’s like trying to loosen a rusted bolt (sometimes you gotta hit it with the impact wrench a few times.
Don’t be afraid to hit “generate” three or four times. I usually generate a batch of 4 variations and pick the one that has the best perspective match.
💡 Watch Your Shadows
When replacing a background, look at where the light is hitting your subject. If the light is on the left face, but your new background has a sun on the right, the brain instantly knows it’s fake. Always match your inpainting prompts to the subject’s existing lighting.
(Who knew?)
AI Inpainting vs Traditional Editing: What’s the Difference?
I get asked this a lot by creators who are used to Photoshop. “Why should I learn this new thing when I know how to use the clone stamp?”
Well, let’s look at the trade-offs.
If you’re a professional editor, you still need traditional tools for fine-tuning. But for 90% of the heavy lifting? Inpainting wins.
I remember reading about how autonomous driving researchers are using this tech. They used masked inpainting to remove vehicle hoods from camera feeds to help train self-driving cars. If it’s good enough to help a car see the road, it’s good enough for your YouTube thumbnail.
Speaking of thumbnails, if you want to see how this fits into a broader creator workflow, check out our guide to Nano Banana thumbnails. It really shows how cleanup is just step one.
What Are the Best Inpainting Techniques for Pros?
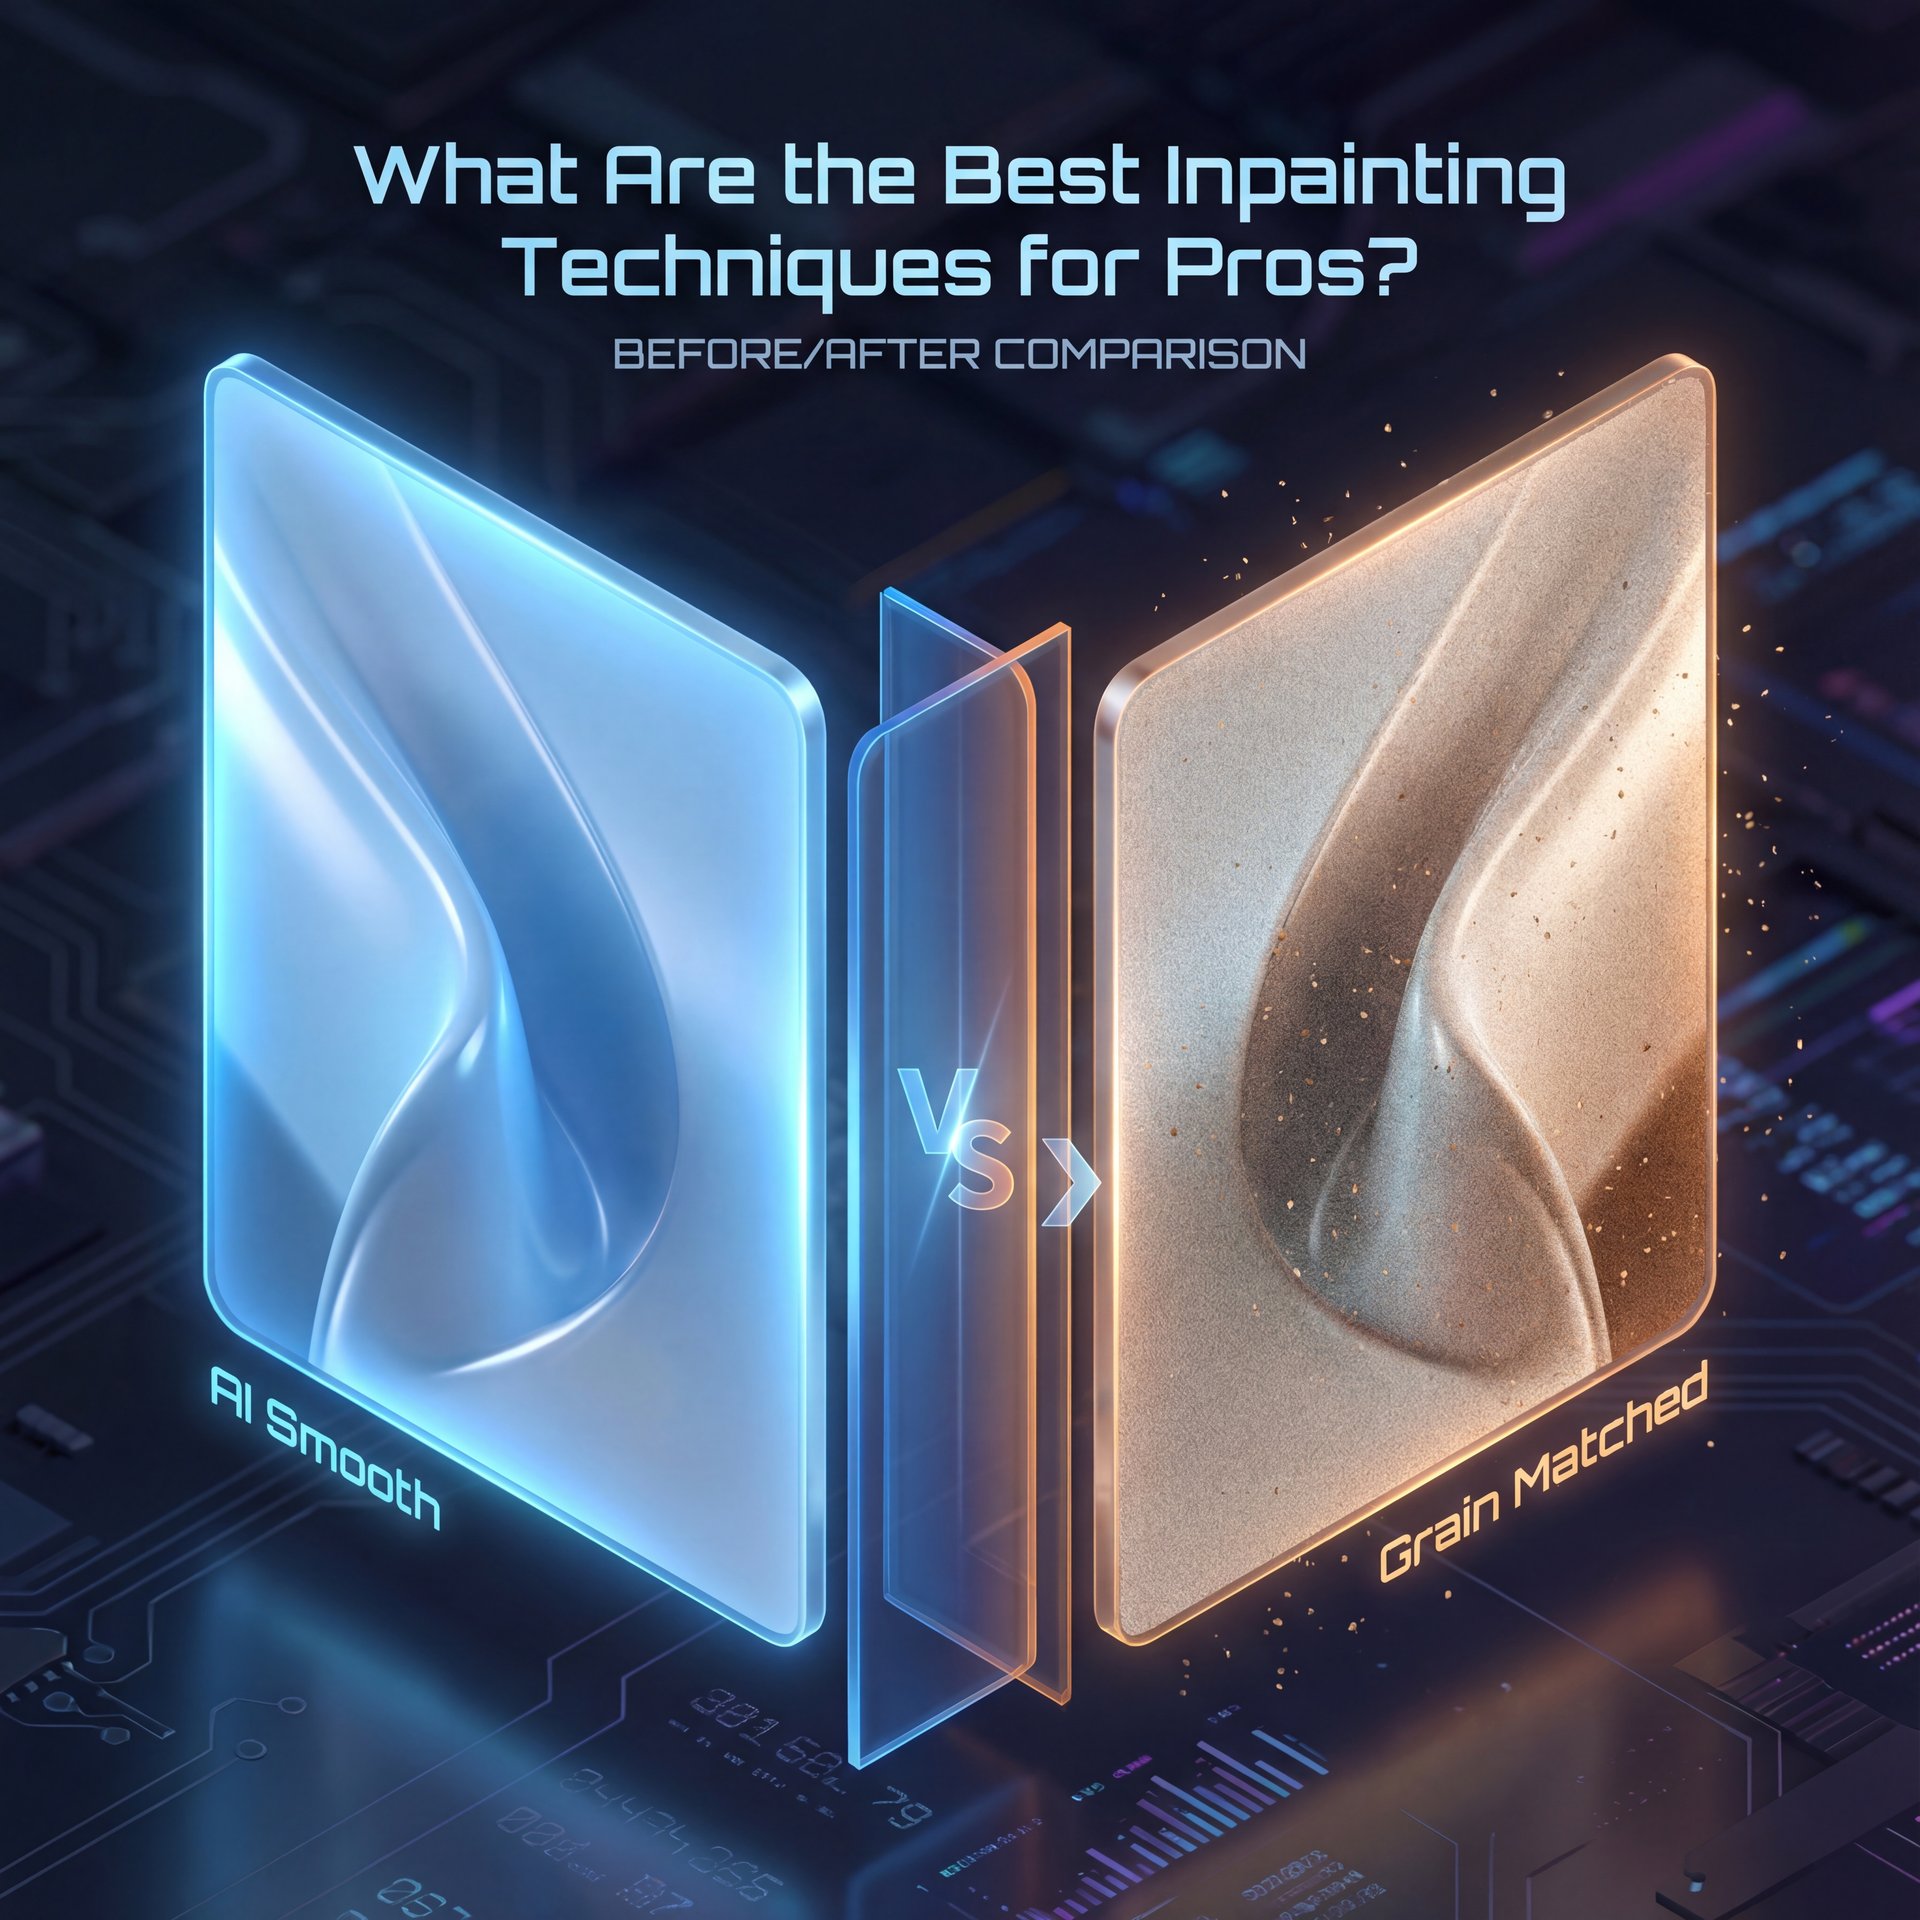
For the professionals reading this. those who need pixel-perfect results for clients (let’s go a bit deeper).
Preserving Texture and Grain
One of the biggest giveaways of an AI edit is that the inpainted area looks too smooth. It looks like plastic, and real photos have grain (noise).
When I’m working on a high-end edit, I’ll often run the inpainting and then add a slight grain layer over the top in post-production to match the ISO of the original camera. It ties the whole image together.
Consistency Across Batches
If you’re doing a campaign, you need the background to look the same across ten different images. Standard inpainting can be random, so to fix this, you need to grabbed consistent seed numbers or reference images if your tool supports them. This ensures that the “modern office” in image A looks like the same office in image B.
According to McKinsey, AI tools including inpainting can deliver $463 billion in annual productivity value through five-15% efficiency gains. When you’re talking about a global marketing market of $595 billion in 2024 projected to exceed $1.ten trillion by 2030, that is huge.
Pro Tip: If you’re struggling to get the AI to understand the scale of objects in the background, try inpainting in smaller chunks rather than the whole background at once. Game over. Do the floor, then the wall, then the window. It helps – actually helps – maintain perspective.
Common Mistakes That Ruin the Illusion
I want to save you some headaches here. I’ve seen so many people give up on inpainting because they keep making the same couple of mistakes.
The “Halo” Effect
This happens when you don’t mask close enough to the subject. You leave a little rim of the old background around their head and the AI fills in the rest, but that rim remains. It looks like a bad sticker job.
You have to be aggressive with your mask. It’s better to paint a little bit onto the subject than to leave a gap.
Perspective Mismatch
This seems a big one for creators. You take a selfie from a high angle, but you inpaint a background that looks like it was shot from eye level. The physics don’t make sense, so if you’re swapping backgrounds, try to visualize where the camera would be.
Ignoring Resolution
Most inpainting models work at a specific resolution. If you upload a massive 4K image, the system might downscale it, process it, and upscale it back, losing detail.
I always recomend working in sections or using upscalers after the inpainting is done. We actually covered the difference between generation tools in our Gemini vs Midjourney comparison, which is worth a read if you’re trying to decide which engine to use for the base image.
🔧 Need Professional Cleanup?
For creators who need to clean up messy backgrounds snappy without losing subject details, check out our AI editing suite. It handles the honestly tricky masking for you so you can focus on the creative direction.
The Future of Inpainting (It’s Moving Fast)
So, where is this all going?
We’re already seeing video inpainting take off. Imagine doing what we just discussed (removing a trash can or fixing a background (but in a moving video). That’s the next frontier.
Advertisers are already using this. According to Taboola’s 2025 platform data, advertisers using AI-generated ads with refined backgrounds via inpainting saw conversion rates increase by 20% compared to static creatives. That’s real money on the table.
What I love about this tech is that it democratizes high-end editing. You don’t need a degree in graphic design anymore. You just need a good eye and a bit of patience to learn the tools.
Pro Tip: Don’t just rely on one tool. Sometimes one model struggles with hands while another is great at architecture. I often bounce images between different inpainting engines to get the perfect result.
So, give it a shot. Take that photo you ruined with a bad background, mask out the mess and see what you can create.
Frequently Asked Questions
What are the latest advancements in AI inpainting?
The biggest shift in 2025 is the move toward video inpainting and real-time consistency, allowing users to remove objects from moving footage without the “jittery” artifacts seen in older models.
How does AI inpainting compare to traditional image editing techniques?
AI inpainting is significantly faster, you know, and generates new pixels to fill gaps realistically, although traditional cloning only copies existing pixels from other parts of the image, which often looks repetitive.
What are the main challenges users face when using AI inpainting tools?
The most common issues are getting the lighting to match the original subject and creating accurate masks that don’t accidentally distort the main subject’s edges.
Can you provide examples of successful AI inpainting applications in advertising?
E-commerce brands are using inpainting to swap product backgrounds instantly for different seasons, with some companies reporting a 63% reduction in retouching costs and faster time-to-market.
Related Videos
![How to change ANYTHING you want in an image with INPAINT ANYTHING A1111 Extension [Tutorial Part1]](https://img.youtube.com/vi/WMZK_kJmMhE/mqdefault.jpg)
Listen to This Article