Table of Contents
- What Is Stable Diffusion and Why Does It Mess Up Thumbnails?
- Why Stable Diffusion Aspect Ratios Ruin Click-Through Rates
- What Is Stable Diffusion Doing Wrong? Stop Weird Artifacts
- Are You Ignoring the Most Important Part of the Image?
- Why You’re Wasting Time on the Wrong Settings
- What Happens When You Forget Mobile Optimization?
- Listen to This Article
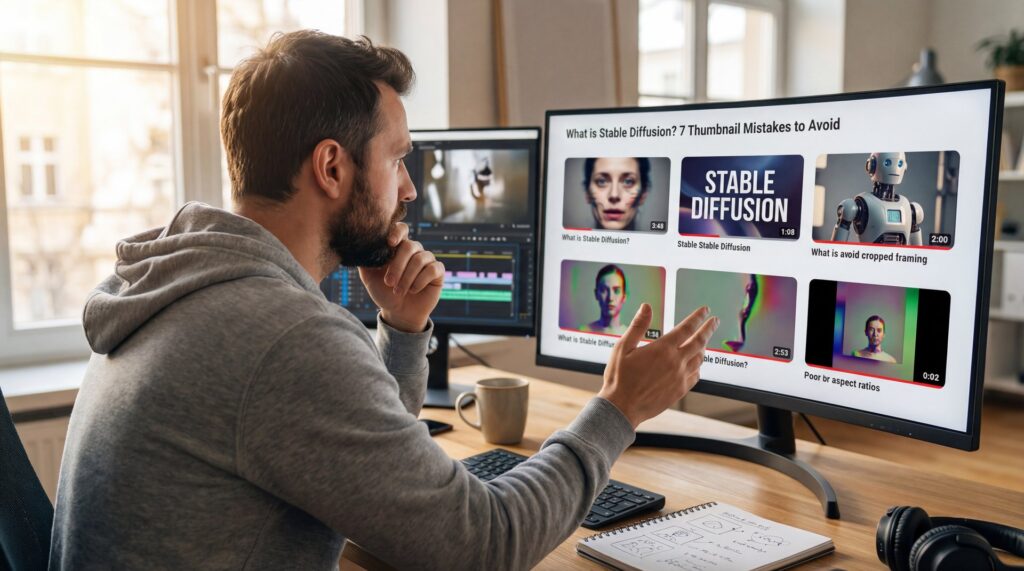
All right, let’s get into it. If you’re wondering what is Stable Diffusion and why everyone’s using it for thumbnails—it’s an AI image generator, and you’ve probably either got it set up locally or you’re running it through a cloud service, ready to churn out some visuals. Huge. You figure, “Hey, it’s AI, it does the work for me, right?” Well, not exactly.
Here’s the thing—I see creators making the same mistakes over and over again. Honestly, it drives me a little crazy because the tech is there, but the execution? It’s often falling flat. I mean, back in 2024 when people were still asking what is stable diffusion, we were just happy if the hands had five fingers. But now, in 2026, the standard is way higher. If your thumbnail looks like a blurry, oversaturated mess, people are just gonna scroll right past it.
I’ve been messing around with these models for years now, and I’ve found that fixing just a few settings under the hood can make a massive difference. Trust me on this. Today we’re going to go over the seven biggest mistakes I see people making with Stable Diffusion when they’re trying to get those clicks—especially for those still wondering what is stable diffusion and how to use it right.
What Is Stable Diffusion and Why Does It Mess Up Thumbnails?
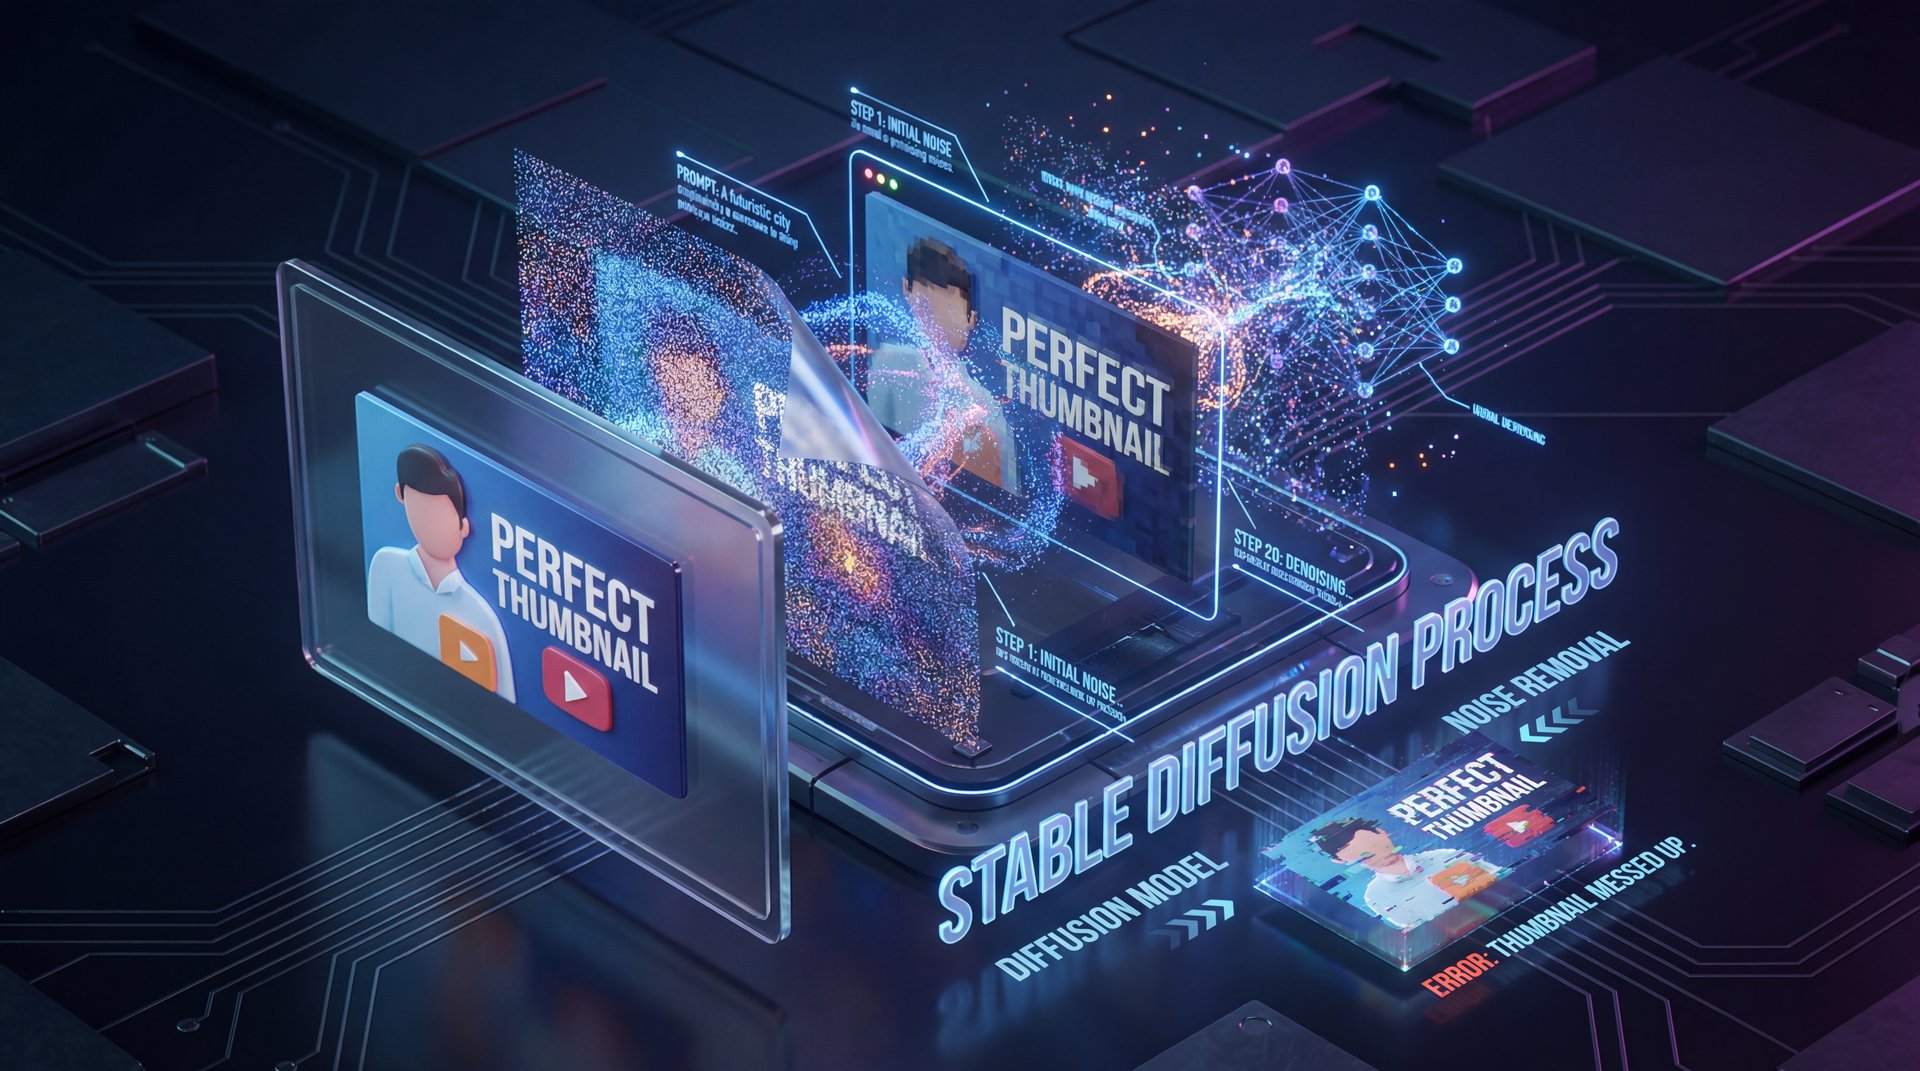
Before we start turning wrenches on your settings, we need 🙃 to understand what we’re actually working with. So, what is Stable Diffusion?
In simple terms, if you’re asking what is stable diffusion, it’s not magic. It’s a diffusion model that learns to remove noise from an image until it recognizes a pattern that matches your text prompt. Think side quest rewards — thumbnail gives you the edge. Think of it like looking at static on an old TV and slowly squinting until you see a picture. Because it works this way, it doesn’t actually “know” what a YouTube thumbnail is supposed to look like unless you tell it specifically.
The biggest mistake I see right out of the gate is using generic prompts—often from people who just learned what is stable diffusion and jump right in. You know, typing something like “scary gaming face” and hitting generate. If you do that, you’re going to get something that looks like generic stock art.
Using generic prompts without thumbnail-specific optimisation leads to 67% lower engagement—a critical mistake for anyone learning what is stable diffusion can do. You need to prompt for the “click.” That means asking for high contrast, emotive expressions and specific lighting that actually works on a small screen.
If you don’t tell the AI to leave room for text or to boost the saturation specifcally for a small screen, it won’t do it. That’s huge. The output? 7 delivers like a flagship release. Game changer. It’s just doing what it was trained to do—make an image, not a marketing asset.
Why Stable Diffusion Aspect Ratios Ruin Click-Through Rates
Now, here’s a mistake that’s honestly just painful to watch. Real talk. A lot of people fire up their interface & leave the default settings on 512×512 or 1024×1024.
So you get a square image. But YouTube thumbnails are 16:9. Think side quest rewards — thumbnail gives you the edge. If you generate a square and then try to crop it later, you’re going to lose the top of the head or the chin or the composition is just going to feel cramped. I’ve seen channels where the thumbnail looks great on a phone until you realize half the subject is cut off because they tried to stretch a square into a rectangle.
⚠️ Common Stable Diffusion Mistakes
Don’t rely on default square outputs. YouTube requires a 16:9 aspect ratio (1280×720 minimum). If you generate square images, and crop them later, you lose critical framing and resolution, making your thumbnail look amateurish.
You wanna set your width and height correctly from the jump. I usually go for 1280×720 or 1344×768 depending on the model version I’m using. This helps the AI understand the composition.It learns to place the subject off-center or leave negative space on the side. It Is perfect for when you add your text overlays later.
I covered some similar spacing issues in our guide on 5 AI Photo Editor Mistakes Killing Your Workflow, and the same logic applies here. Trust me on this. If you don’t frame it right in the generation phase, no amount of editing is going to save it.
What Is Stable Diffusion Doing Wrong? Stop Weird Artifacts
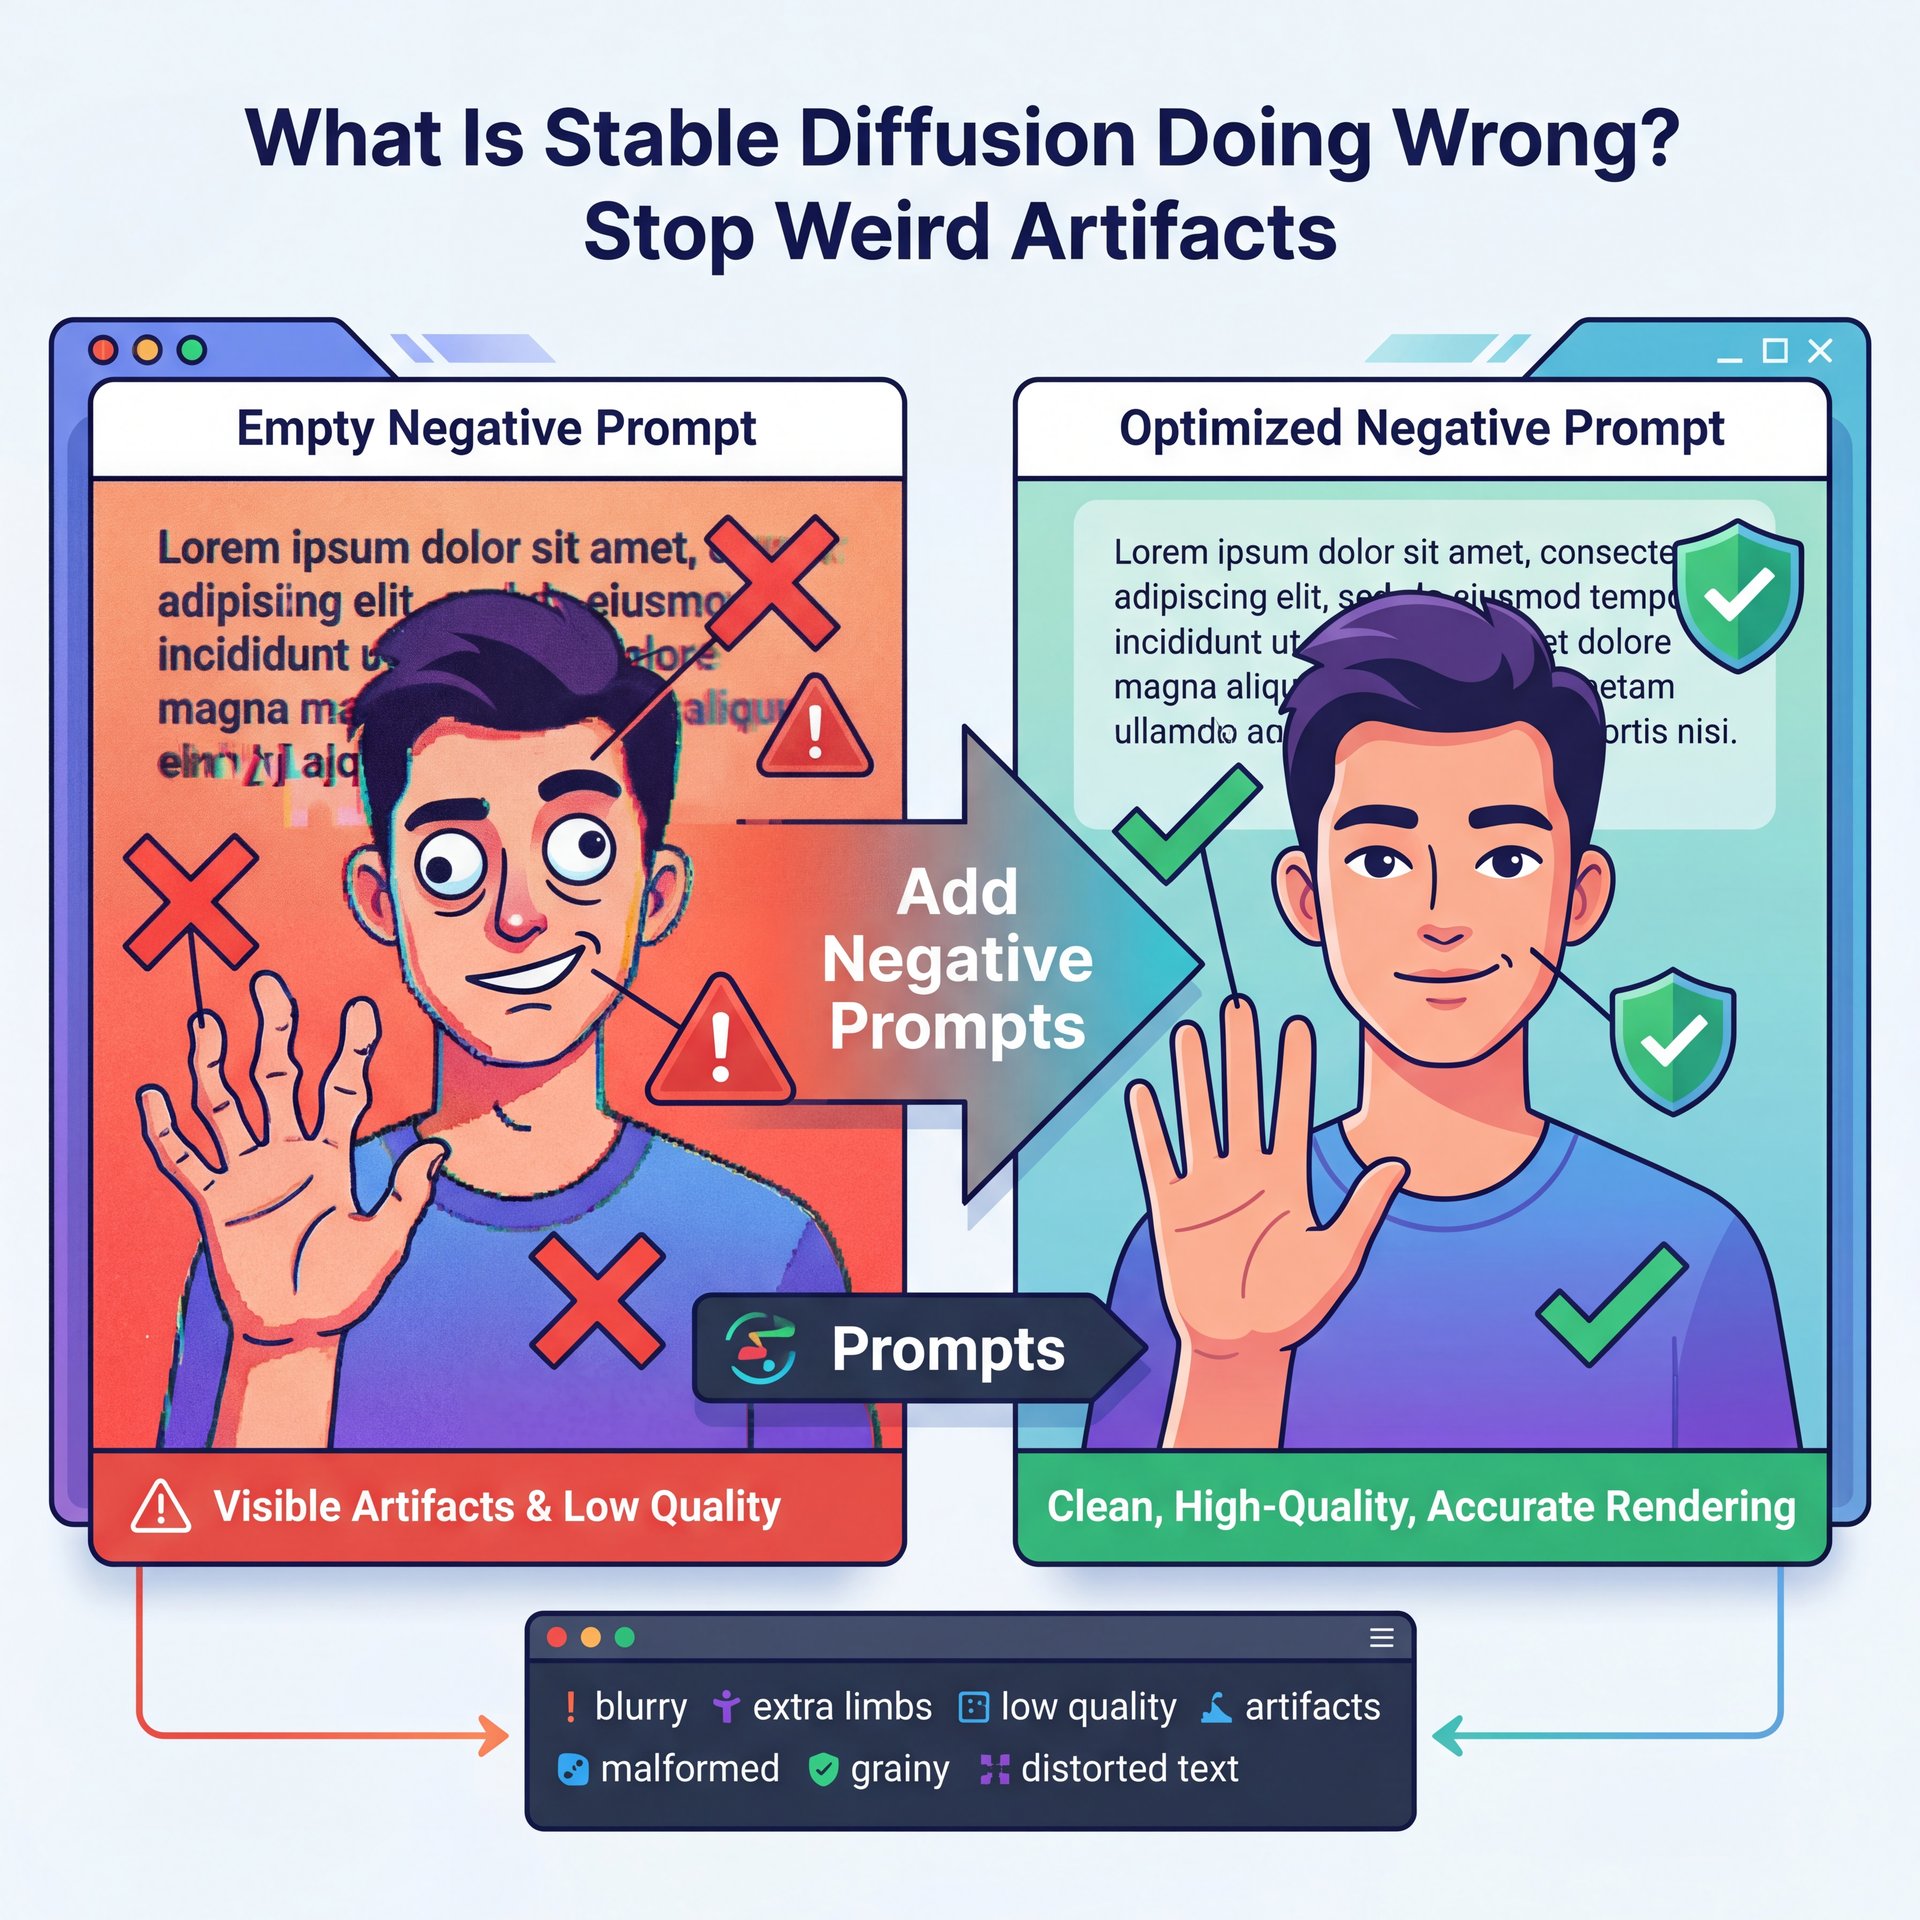
All right, let’s look at the prompt box again. Most people focus on the positive prompt (what they want to see). But they completely ignore the negative prompt. True story.. what they don’t want to see.
This is – well, it’s a huge deal. If you leave the negative prompt empty, what is Stable Diffusion going to do? It’s going to guess. And often, it guesses that you might want blurry text, extra limbs, or low-quality grain. Neglecting negative prompts results in unwanted artifacts and 78% of failed thumbnail generations include distracting elements that could be eliminated with proper negative prompting.
You need to build a “universal negative” list. Things like: “ugly, tiling, poorly drawn hands, poorly drawn feet, poorly drawn face, out of frame, extra limbs, disfigured, deformed, body out of frame, bad anatomy, watermark, signature, cut off, low contrast, underexposed, overexposed, bad art, beginner, amateur, distorted face.”
I keep this saved as a preset. Every time I load up a new session, boom, it’s there.
The CFG Scale Trap
While we’re talking about settings, let’s talk about the CFG Scale (Classifier Free Guidance). Big difference. This slider tells the AI how strictly it should follow your prompt.
A lot of beginners think, “I want it to follow my prompt exactly, so I’ll crank this up to 20.” Don’t do that. If you push the CFG scale too high (usually above 12 or 13, the colors get fried. The image becomes oversaturated, the contrast gets blown out and it looks like a deep-fried meme.
I find that the sweet spot is usually between five and 8. It gives the AI enough freedom to be creative and make the lighting look natural, but it still listens to your instructions.
Are You Ignoring the Most Important Part of the Image?
Let’s be real, thumbnails are about faces.If you have a human in your thumbnail, you’re already winning. In fact, thumbnails with prominent human faces recieve 38% higher click-through rates.
But here’s the problem with Stable Diffusion out of the box: it’s not always great at faces when they’re small or in the distance. You get those weird “melted” eyes or teeth that look like a horror movie. Worth it. If you just accept that result, you’re killing your CTR.
You need to use “Inpainting” or “ADetailer” (After Detailer). These are tools that detect the face after the initial generation, mask it and regenerate just the face at a higher resolution.
ADetailer
Auto-detects and fixes faces
- ✓ Sharp eyes and teeth automatically
Inpainting
Manually fix specific areas
- ✓ Total control over expressions
LoRA Models
Specialized character styles
- ✓ Consistent branding across videos
I use ADetailer on almost every single generation that has a person in it. It takes an extra few seconds to process, but the difference is night and day. Game changer. It turns a “creepy AI face” into a “professional portrait.” if you’re struggling to get consistent characters across your videos, you might want to check out some of the tools on our video generation features page, which can help simplify that character consistency.
Why You’re Wasting Time on the Wrong Settings
Time is money, right? Especially if you’re trying to get a video out by five PM.
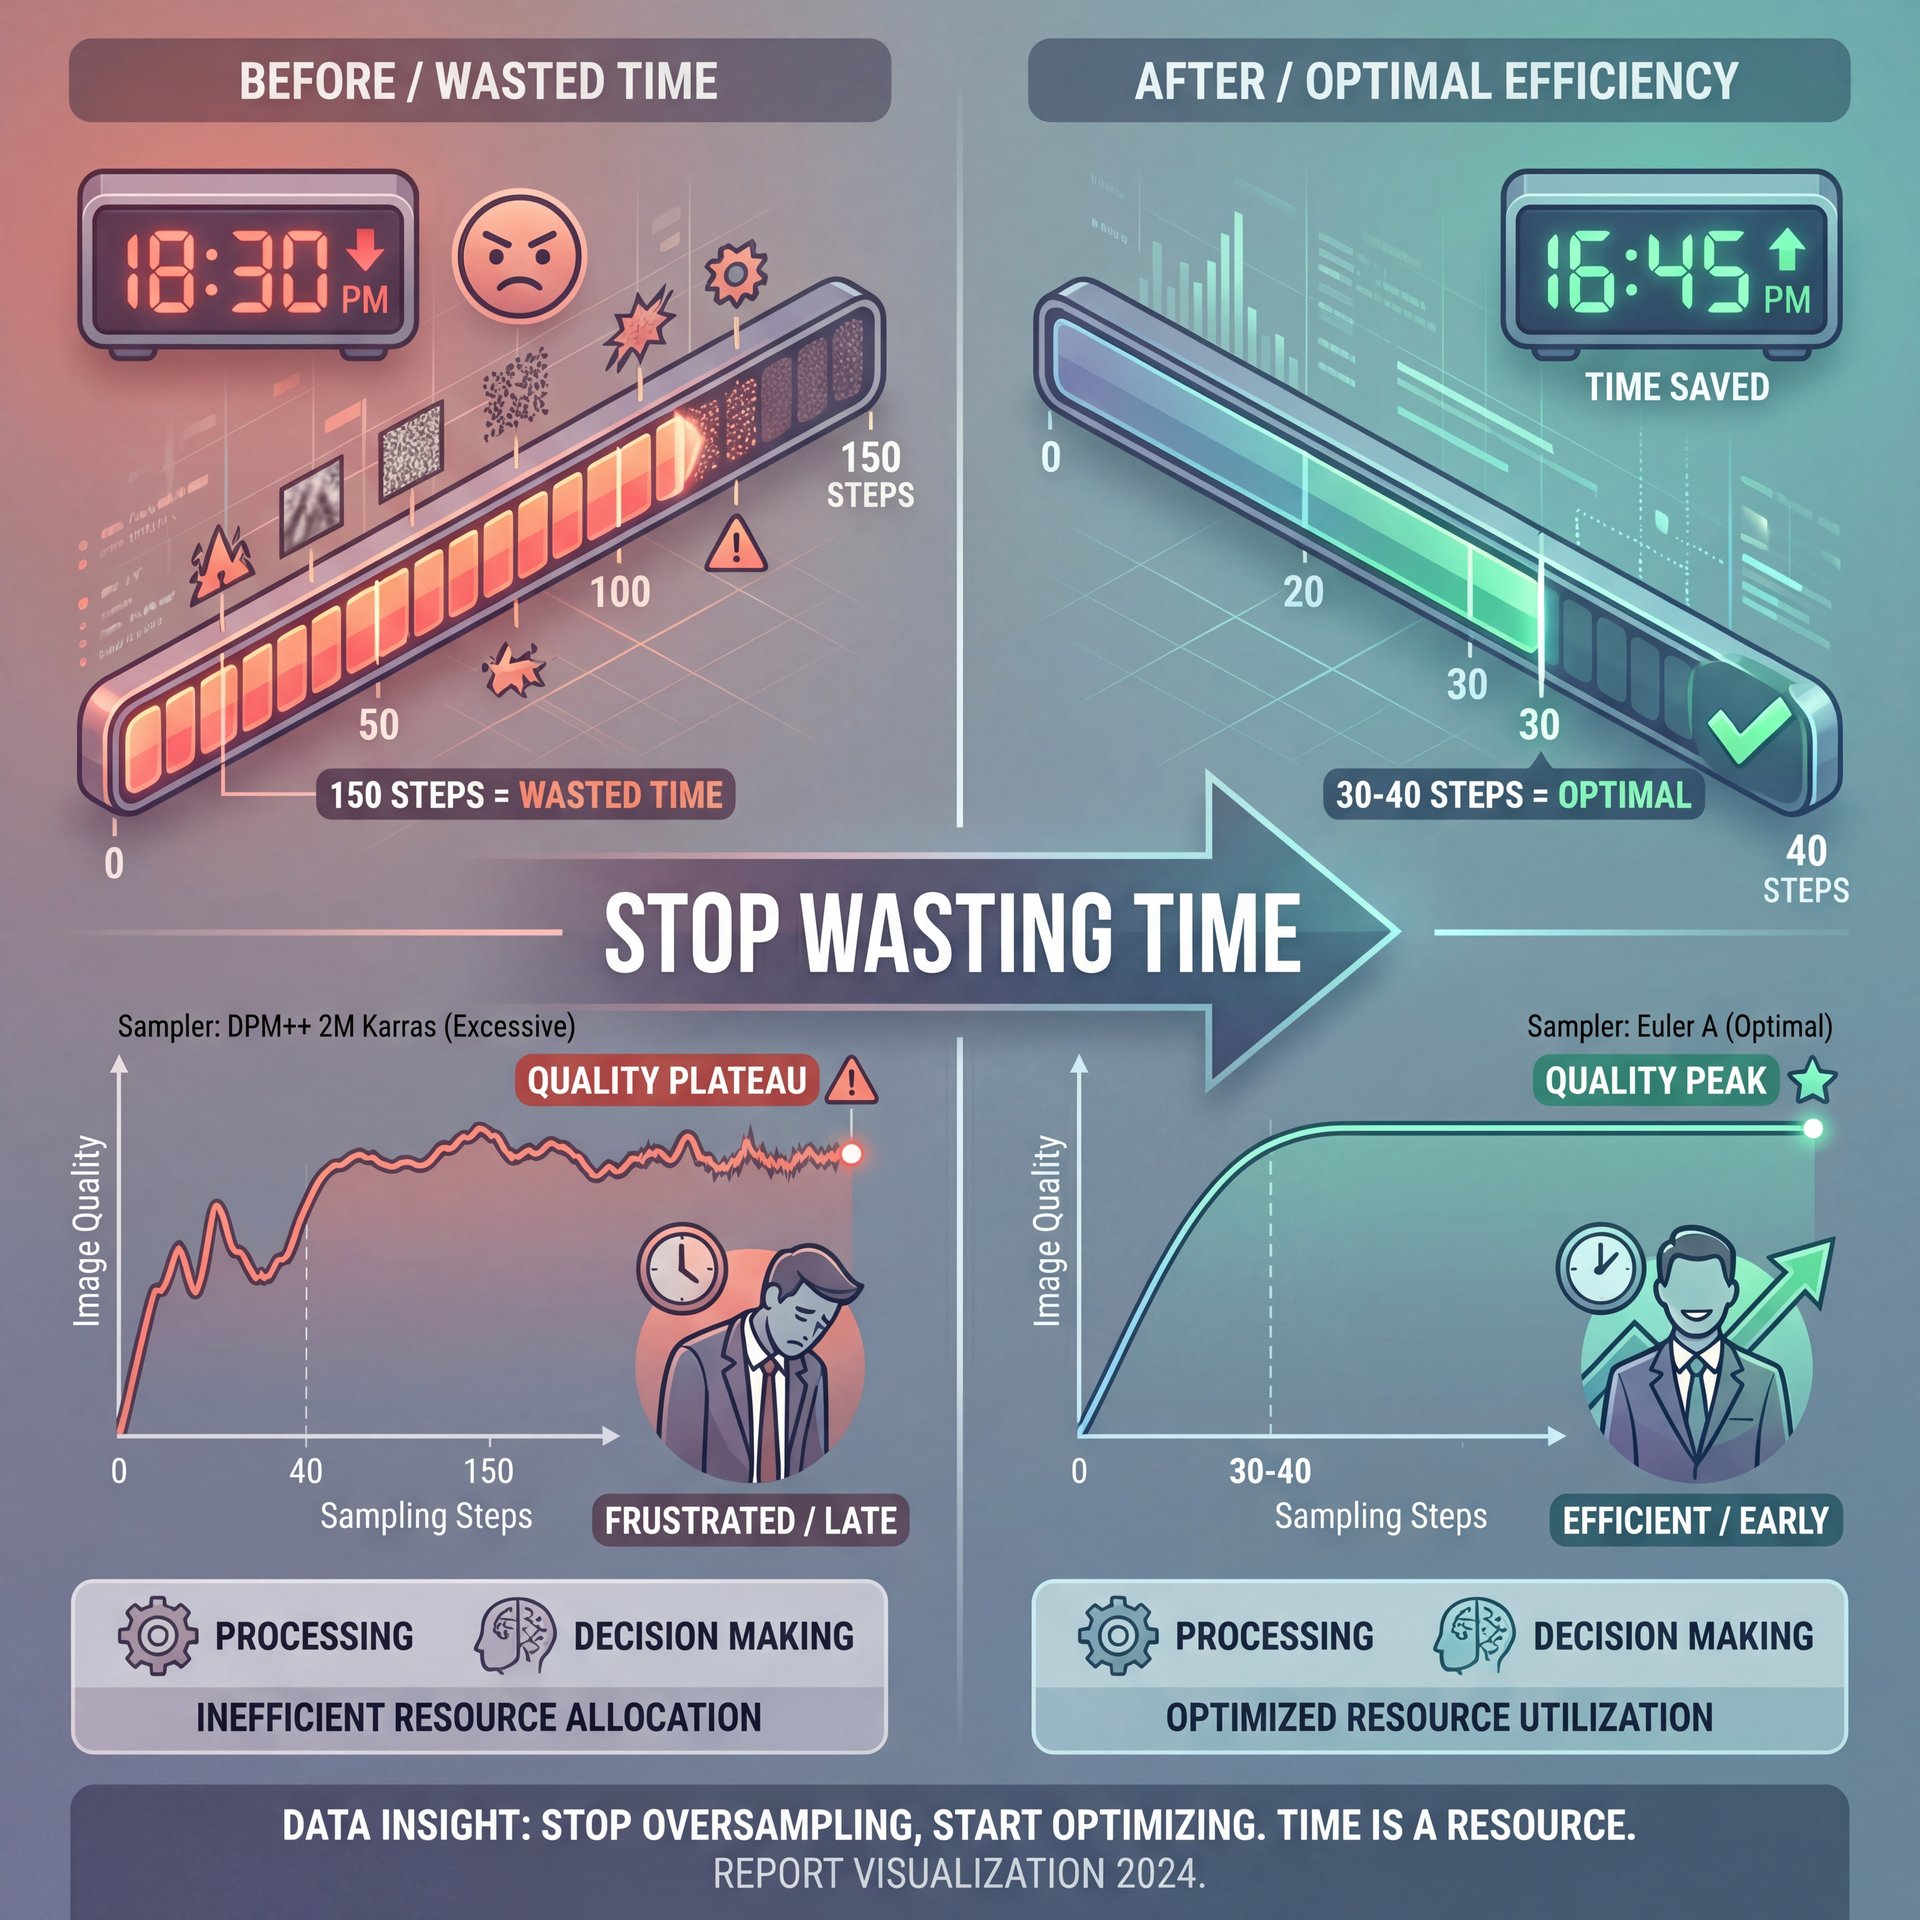
One mistake I see is people setting their “Sampling Steps” way too high — and they think, “If 20 steps is surprisingly good, 150 steps must be amazing!” Honestly? It’s not.
Most modern samplers (like DPM++ 2M Karras or Euler A) converge pretty quickly. After about 30 or 40 steps, the image doesn’t get “better”, it just changes slightly, or sometimes it actually starts adding too much detail and noise.
(But I’m getting ahead of myself.)
Choose the Right Sampler
Select **DPM++ 2M Karras** or **Euler A** for the best speed/quality balance.
Set Step Count
Set your steps to **20-30**. Going higher usually just wastes GPU time.
Test Low First
Generate a batch of 4 images at 15 steps to check composition before committing to high quality.
You can generate like 5x faster if you stick to the 20-30 step range. That means you can iterate through prompts faster, find the winning composition sooner and get done quicker.
I also talked about efficiency in creative workflows in our article on five Suno AI Mistakes Killing Video Creativity, and the principle is the same: don’t let the rendering time kill your creative flow.
What Happens When You Forget Mobile Optimization?
So you’ve generated a masterpiece. It looks incredible on your 4K monitor. You upload it, and… crickets.
Why? Because you forgot to check it on a phone. Mobile devices account for 70% of YouTube watch time. On a phone screen, your thumbnail is tiny (about 156×88 pixels in the suggested video column).
(Okay, so where were we?)
💡 Quick Tip
Always zoom out to ten% view on your monitor before finalizing a thumbnail. If you can’t read the text or understand the emotion at that size, mobile users won’t click it. grabbed our workflow tools to preview at scale.
The mistake here is relying on raw generation without upscaling or enhancement. What is Stable Diffusion output usually? It’s often soft or slightly blurry at the native resolution. When that gets compressed by YouTube, it turns into mush.
I always run my final pick through an AI upscaler (like Ultimate SD Upscale or just a simple extras tab upscale) to 2x or 4x the resolution. Then, I sharpen it. This ensures that when it shrinks down, the edges remain crisp and the text (if I added any) is legible.
(To be transparent…)
Also, watch out for “busy” details. Stable Diffusion loves to add detailed patterns to clothes or backgrounds. On a small screen, that detail creates visual noise. I often use inpainting to blur, the background slightly or smooth out textures so the main subject pops.
The Text Problem
One last thing, don’t try to make Stable Diffusion write your text. I know the 2026 models like SD3 or Flux are better at text than the old stuff, but honestly? It’s still hit or miss.It’s way faster to generate the image clean (no text). Then add your typography in Photoshop, Canva or a dedicated thumbnail tool.You want full control over the font weight, shadow, and color. This You just don’t get inside the diffusion interface.
🔧 Tool Recommendation
Stop fighting with prompts to get legible text. Generate your clean background image first, then use our text overlay features to add high-contrast, click-worthy titles that actually scale correctly on mobile.:::
So, if you avoid these traps (fix your aspect ratio, use negative prompts, watch your CFG, fix the faces, stop over-sampling. Improve for mobile (you’re going to see your CTR go up). It’s not about having the most solid GPU; it’s about knowing how to turn the knobs.
What is the best resolution for AI thumbnails?
For YouTube, you should aim for 1280×720 pixels minimum, which is a 16:9 aspect ratio. This ensures your image fills the frame perfectly without awkward cropping or black bars.
Can Stable Diffusion generate text correctly now?
While newer 2026 models have improved text capabilities, they’re still inconsistent compared to adding text manually. it’s generally faster and more professional to add typography using a seperate image editor after generation.
Why do my AI images look oversaturated?
This usually happens because your CFG Scale (Classifier Free Guidance) is set too high. Try lowering the CFG value to between 5 and 8 to get more natural lighting and colors.
:::
Related Content
For more on this topic, check out: mistakes
Listen to This Article
