Table of Contents
- What Is Gemini Cinematic Glow Actually Doing?
- Why Does Gemini Cinematic Glow Fail on Facial Details?
- Are You Using the Right Gemini Cinematic Glow Lighting Prompts?
- How to Fix Unnatural Backgrounds in Gemini Cinematic Glow
- Gemini Cinematic Glow vs Nano Banana Pro: Which Handles Portraits Better?
- Is Your Gemini Cinematic Glow Workflow Killing Your CTR? (seriously)
- Listen to This Article
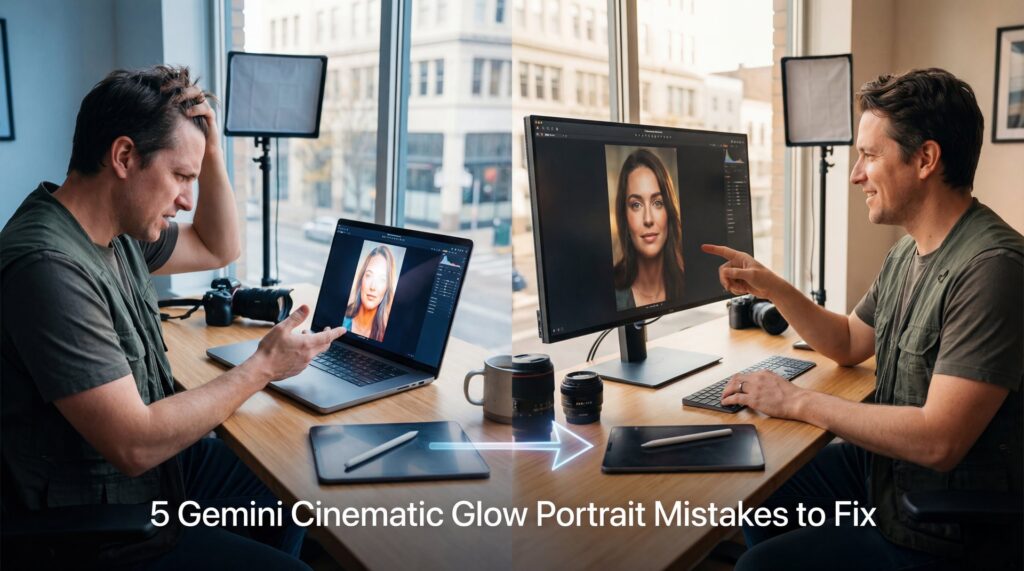
Here’s, the thing about AI portraits—all right, Curtis here again—you see “cinematic glow” and you think, “This is it, this is gonna look like a movie poster.” So you type it in, hit generate, and… well, it looks like a plastic doll melting under a heat lamp — and I mean, we’ve all been there — Wait, no —. You want that dramatic, moody lighting, but you end up with something that just screams “fake.” i’ve been messing around with these tools a lot lately, specifically looking at how Gemini handles lighting in 2026, and honestly, it’s tricky. It’s not really a “push button, get perfection” situation, even though the marketing makes it sound that way.Today we’re going to go over the five biggest mistakes I see people making with Gemini Cinematic Glow. How to fix them so your portraits actually look like photographs.
So let’s go under the hood and figure out why your portraits aren’t hitting the mark.
What Is Gemini Cinematic Glow Actually Doing?
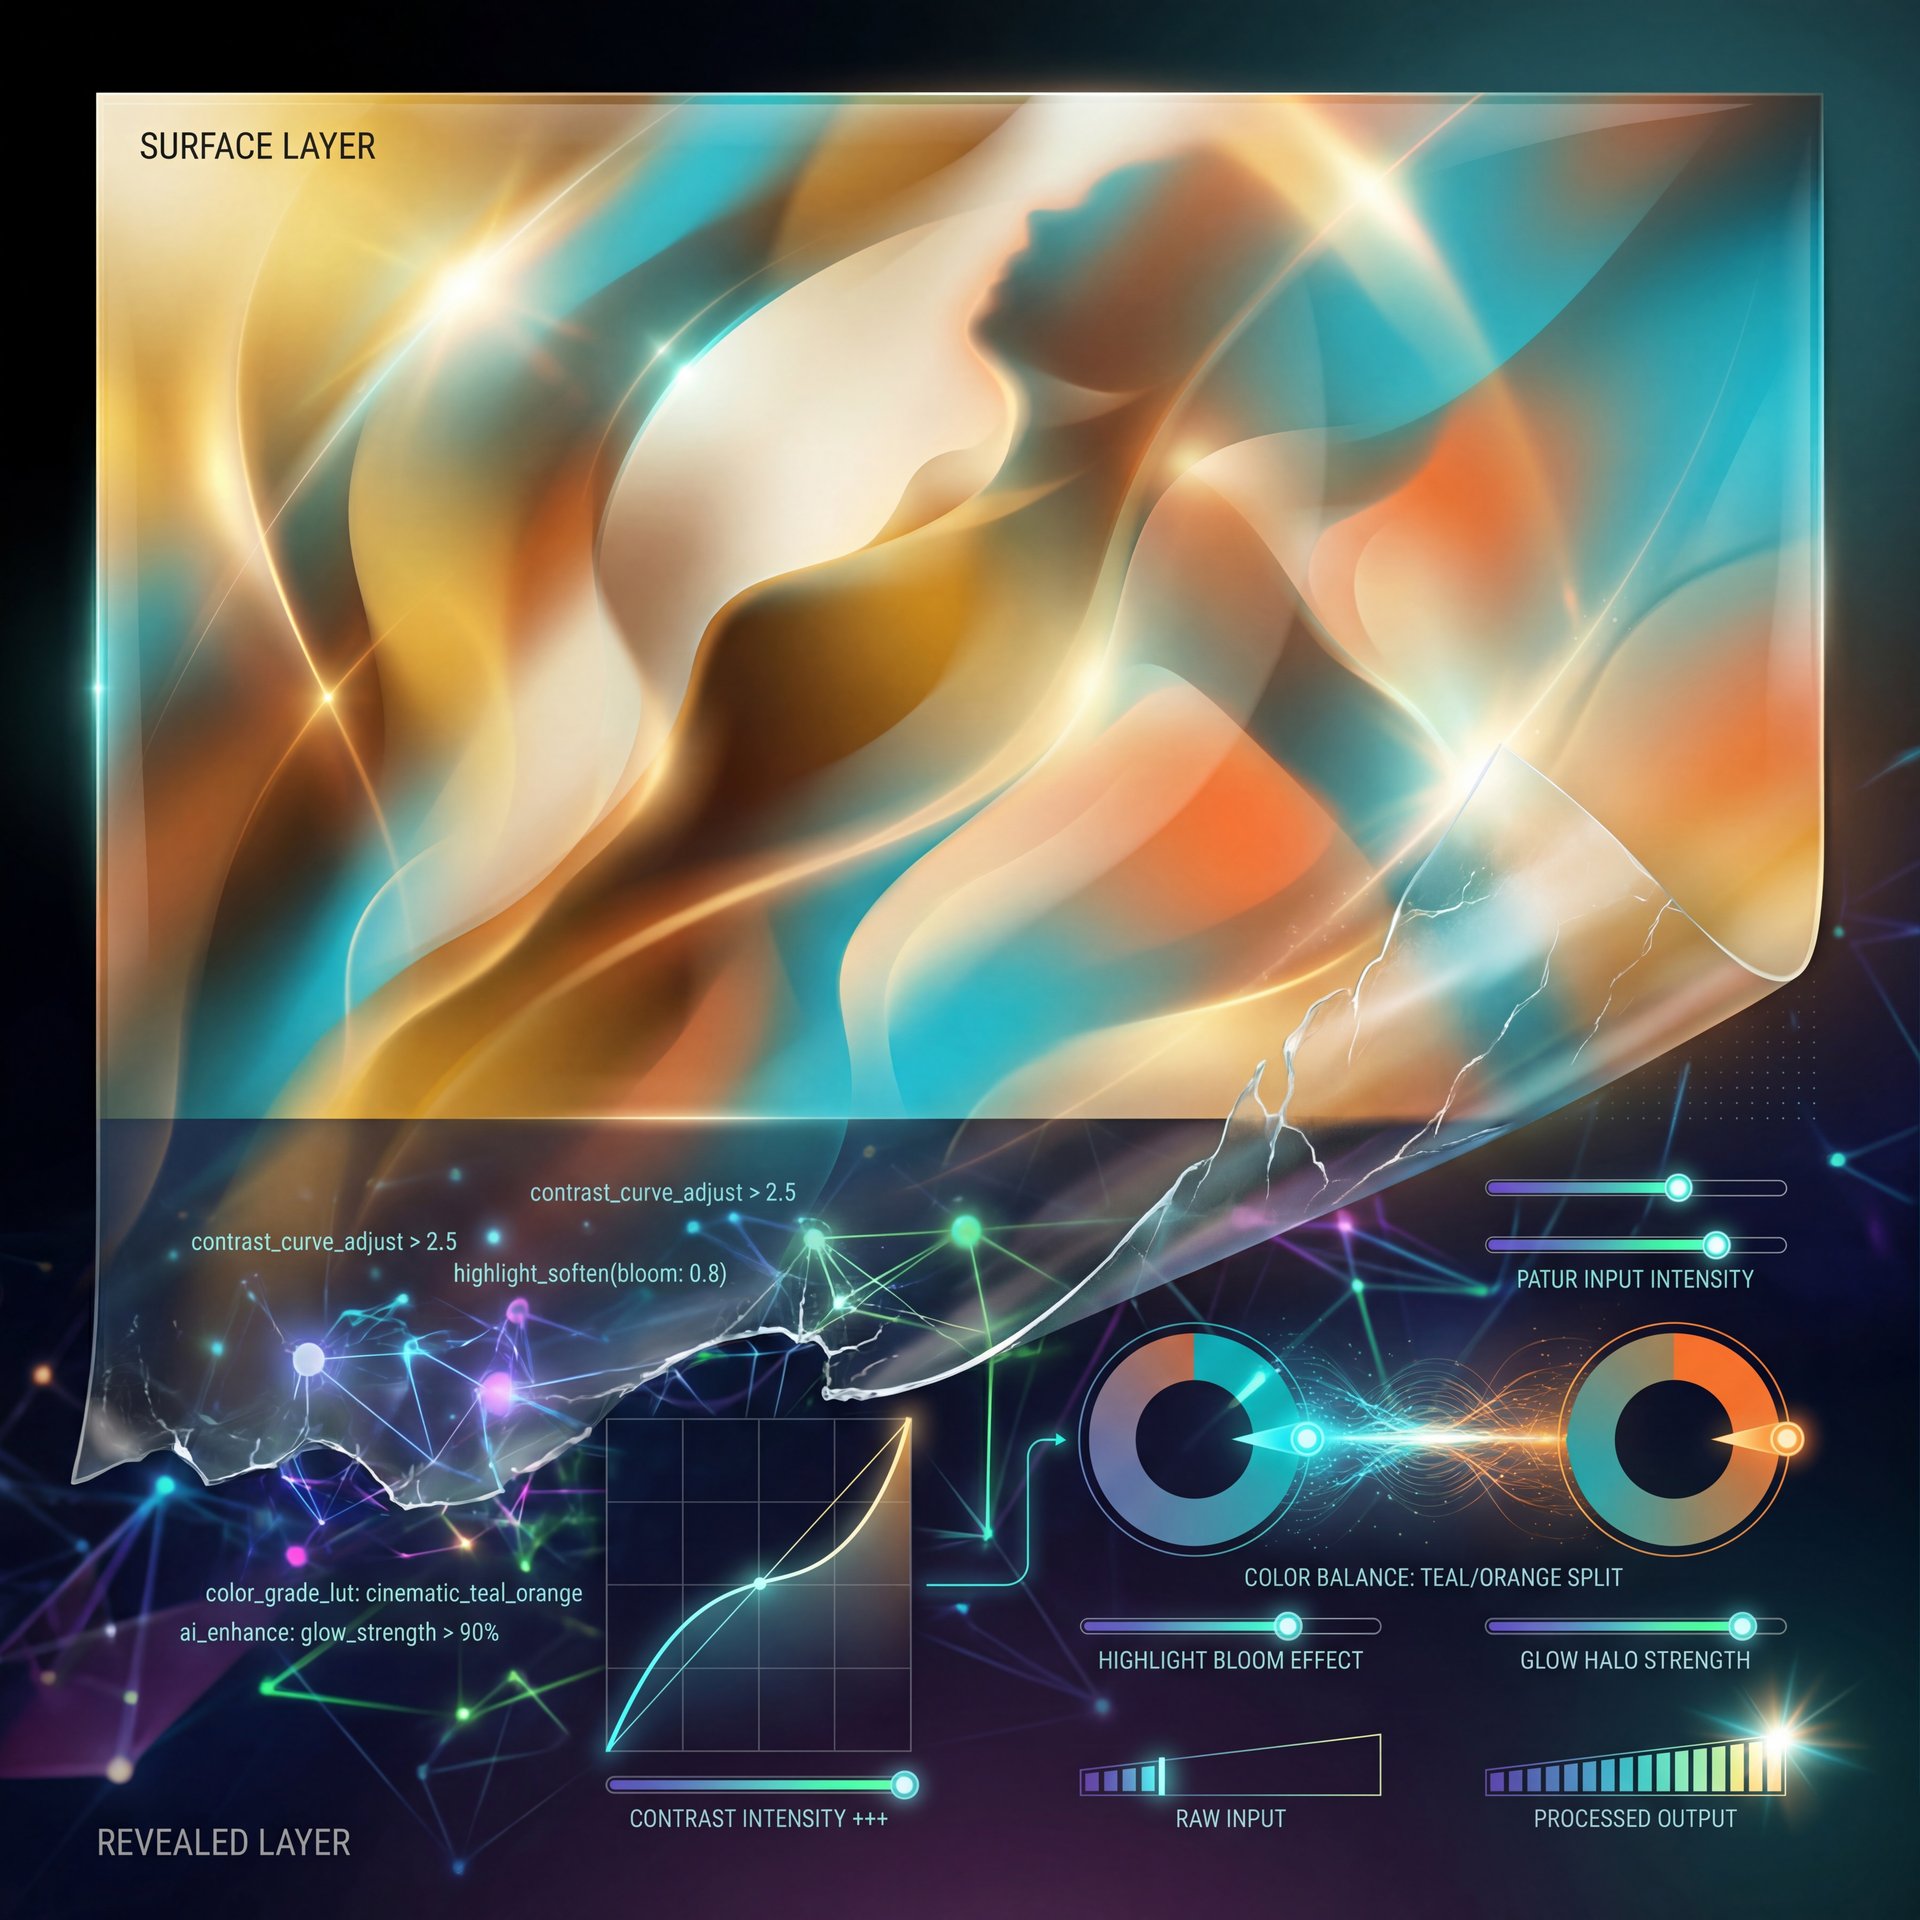
First off, we need to understand what we’re working with. It’s basically 5 that makes this work. When you ask Gemini for a “cinematic glow,” you’re basically asking the algorithim to crank up the contrast, soften the highlights, and add a specific color grade. usually teal and orange or warm gold. But here’s the thing: without specific instructions, the AI just guesses. And its guess is usually “make everything shiny.” i found that casual users often treat “cinematic” like a magic word. They think adding it to a prompt fixes bad composition. It doesn’t. In fact, it usually highlights the flaws. If you don’t give Gemini boundaries, that glow bleeds into the shadows, washes out the skin texture, and makes the eyes look alien.
It’s kind of like slapping a fresh coat of paint on a car with a rusted frame. It looks okay from fifty feet away, but get close, and you see the problems. I’ve seen so many portraits where the “glow” is actually coming from nowhere, so light hitting the face from the left. The background suggests the sun is on the right. No joke. That subconscious disconnect is why people scroll past your image.
📊 Before/After: The Specificity Shift
Before: Prompting “cinematic glow portrait” often results in oversaturated, plastic skin tones and confusing light sources.
After: Adding “rim lighting, 85mm lens, f/1.8, golden hour” creates realistic skin texture and directional light that actually guides the viewer’s eye.
Why Does Gemini Cinematic Glow Fail on Facial Details?
Now, if you have these symptoms (waxy skin, weird eyes, or teeth that look a little too perfect, you’re likely suffering from “over-processing.” This is probably the most common issue I see with Gemini Cinematic Glow. The AI tries so hard to make the lighting dramatic that it smooths out all the human details.
I mean, real skin has texture. It has pores. It has imperfections. When Gemini applies that heavy cinematic effect, it often interprets “glow” as “smooth.” So you lose that gritty, realistic detail that makes a portrait engaging. I’ve noticed this is especially bad with the Gemini around 2 Flash Image updates if you aren’t careful with your negative prompts.
Pro Tip: Always include “skin texture,” “pores,” and “hyper-realistic” in your positive prompt and put “airbrushed,” “smooth,” and “plastic” in your negative prompt. It forces the AI to balance the glow with actual (spoiler alert) human features.
And honestly, this matters for performance. We know from our internal data that Face Focus thumbnails (where the expression is clear and the skin looks real. achieve roughly 38% higher CTR than those overly processed, cartoonish ones. It’s thumbnail that does the heavy lifting. If you look like a video game character, people assume the content is fake too.
For a deeper dive into how these generation errors happen, check out our breakdown of 5 Gemini Image Generation Mistakes Killing Art.
Are You Using the Right Gemini Cinematic Glow Lighting Prompts?
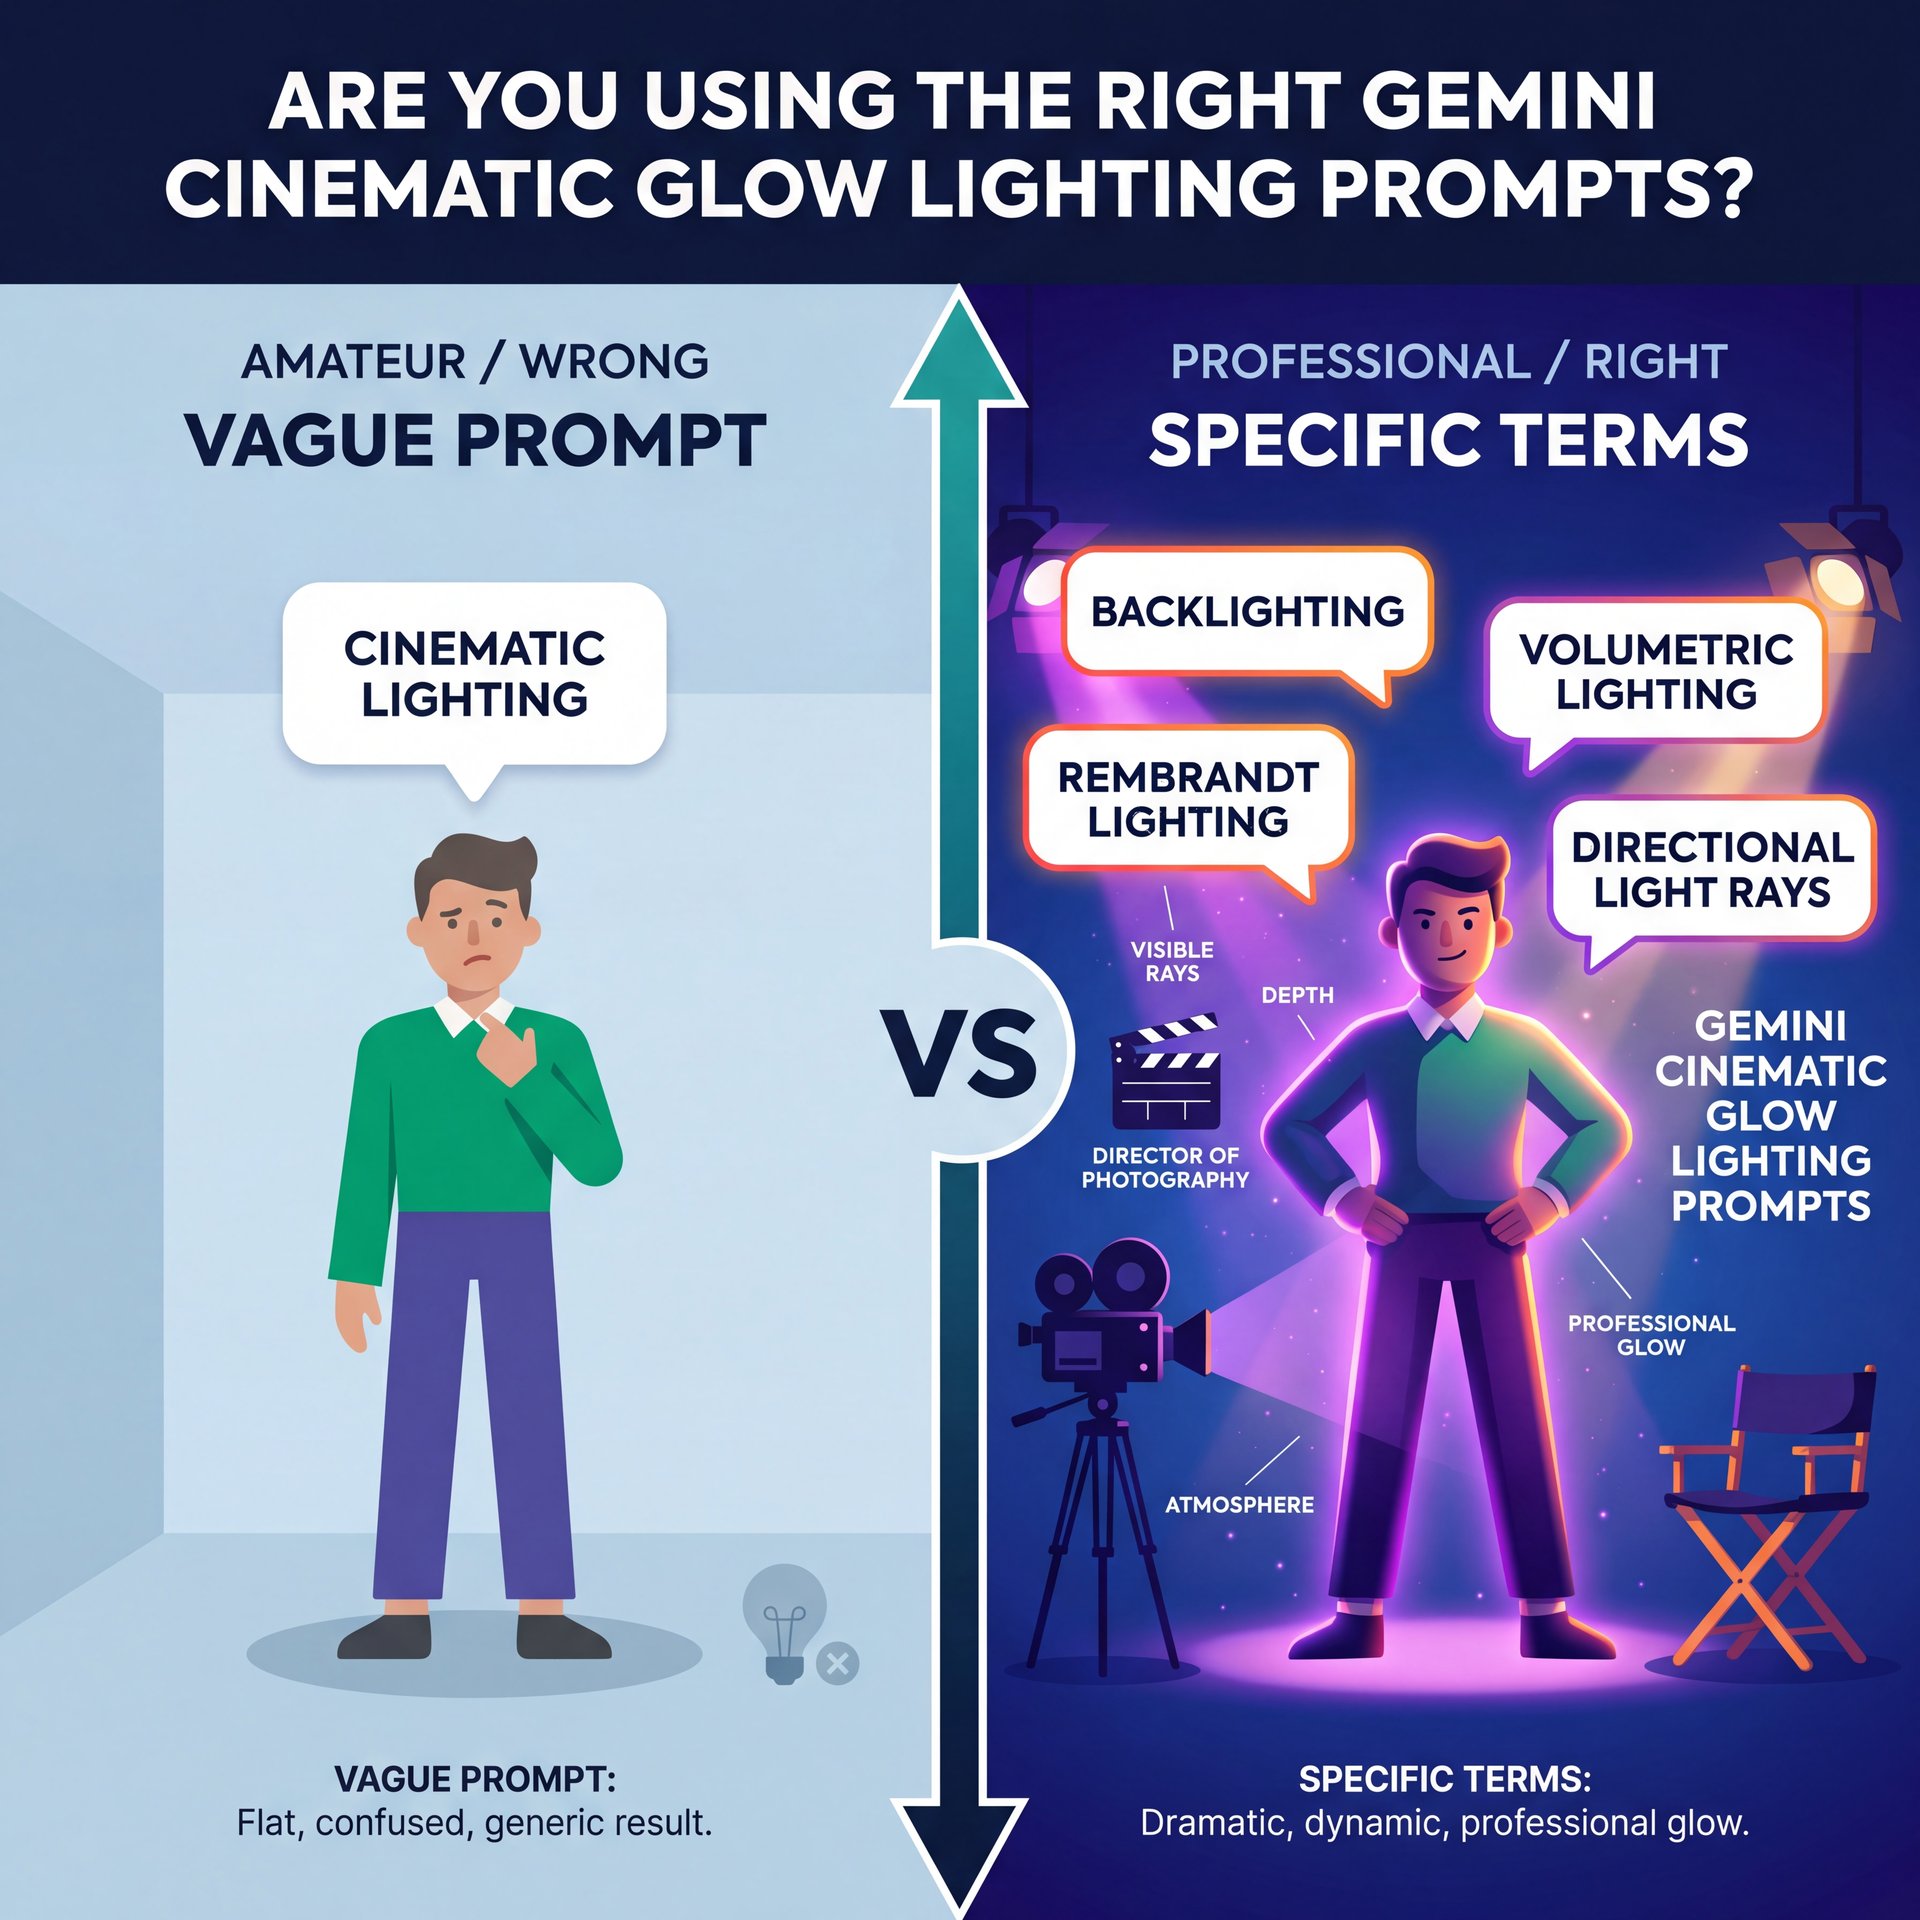
So let’s cover the actual prompts. Most people just type “cinematic lighting” and hope for the best. That’s a mistake. you should probably be the director of photography here. Every time. You wouldn’t just tell a cameraman “make it look cool,” right? You’d tell them where to put the lights.
(Controversial opinion incoming.)
I prefer to use specific photography terms. Instead of just “glow,” I use “backlighting,” “volumetric lighting,” or “Rembrandt lighting.” These terms tell Gemini exactly where to put the shadows. Shadows are what make the glow pop. Without deep shadows, the glow just looks like a fog filter.
Build Your Prompts Like a Professional
What surprised me essentially was how much better the results get when you specify a camera lens. If you say “shot on 35mm” or “85mm portrait lens,” Gemini adjusts the depth of field & the way the light hits the subject. It grounds the “cinematic glow” in physical reality. Think outcomes — 5 produces them.
This specificity also helps with common use cases like holiday portraits and pet figurines, where the cinematic glow mistakes are most visible. When you’re generating a Christmas portrait, for example, you don’t want those tree lights turning into weird blobs. Specific lighting directions prevent that hallucination.
💡 Quick Tip: Speak the Camera’s Language (the boring but important bit)
Don’t just say “blurry background.” Use “f/1.8 aperture” or “bokeh” to get that professional depth of field. This tells the AI to treat the image like a photograph, not a digital painting, giving you that authentic cinematic look.
I was reading some interesting data on Tenorshare about how specific camera references are becoming the standard for 2025-2026 prompting. If you aren’t doing this, you’re falling behind. The tips for 2025-2026 emphasize detailed prompt construction over relying on single-word modifiers like “cinematic.”
How to Fix Unnatural Backgrounds in Gemini Cinematic Glow
Now here’s the thing about backgrounds. When you crank up the cinematic glow, Gemini often hallucinates weird details in the background. I’ve seen holiday portraits where the Christmas tree lights turn into floating orbs that don’t make sense, or pet figurines in the background that look like melted wax.
This happens because the AI is trying to apply that “glow” 😅 effect to the entire image globally, rather than focusing it on the subject. It creates a visual mess. The subject might look okay, but the background looks like a bad sci-fi movie.
What I’ve found works best is to seperate your subject from your background in your prompt structure. Not even close. Describe the subject first with the lighting you want, then describe the background separatly with words like “dark,” “muted,” or “out of focus.” This helps contain the Gemini Cinematic Glow to where it belongs (on your subject).
If you’re seeing this issue, it’s usually because the prompt is too vague about the environment. It’s 5 that drives results. I mean, you have to tell it where the light is coming from. If the background is bright neon but the subject has moody shadow, the brain rejects it instantly.
Gemini Cinematic Glow vs Nano Banana Pro: Which Handles Portraits Better?

Let’s be real for a second. Sometimes the tool itself is the bottleneck. Not even close. I’ve spent hours trying to wrestle a legit portrait out of standard Gemini prompts, only to get it in seconds with a tool designed for it.
Gemini is a generalist. It’s trying to do everything, write code, answer questions, and make images. Nano Banana Pro, But is built specifically for creators who need visual impact. When I use Nano Banana PRO, I notice it handles the “cinematic” aspect differently. It doesn’t just wash the image in light; it understands contrast ratios better.
Professional Photography Principles Built In
The Nano Banana features prove the importance of balancing AI generation with professional photography principles, and instead of just applying a filter, it considers how actual light behaves. Plus, Banana Thumbnail offers 12 professional Lighting & Atmosphere options, which gives you way more control than a single “cinematic” keyword ever could.
Here is a quick breakdown of how they stack up when you’re trying to get that specific look:
If you’re serious about this, you might wanna look at dedicated tools. I mean, you wouldn’t use a crescent wrench to drive a nail, right? Same principle. For more on how, the underlying tech differs, we covered this in 7 Gemini Nano Banana Mistakes Killing Your Edits.
🔧 Tool Recommendation: Nano Banana Pro
Stop fighting with generic prompts. Nano Banana Pro’s specialized “Cinematic Portrait” model creates dramatic lighting while preserving skin texture automatically. It’s built to avoid that plastic AI look right out of the box.
Is Your Gemini Cinematic Glow Workflow Killing Your CTR? (seriously)
Finally, we need to talk about the end result. Why are we making these portraits? Usually, it’s for a thumbnail, a profile picture or an ad. And here is where the “cinematic glow” can actually hurt you.
If an image is too dark and moody (which Gemini loves to do when you ask for “cinematic”. it looks terrible on a small phone screen. I’ve seen creators make these beautiful, dark, moody portraits that look like a black square on YouTube mobile. You need to balance the cinematic feel with visibility.
The Mobile Screen Reality Check
(Classic, right?)
Curtis, our founder, always talks about the “squint test.” If you squint at your image and can’t tell what the emotion is, the lighting is failing you. Gemini Cinematic Glow often obscures the eyes in shadow. That’s a killer for Clicks (CTR). Eye contact connects with humans. If the “cinematic” shadow hides the eyes, you lose the click.
So, don’t just accept the raw output. You might need to take that image and brighten the face, or use a tool that understands “face fill light” specifically. No joke. This is especially true for trending cinematic transformations in Gemini AI that include dramatic lighting effects. users often over-apply glow without understanding prompt specificity.
⭐ Creator Spotlight: The Lighting Balance
Top creators in 2025 aren’t just using raw AI outputs. They use Gemini for the base composition, then bring it into tools like Nano Banana to adjust the “Face Light” specifically. This keeps the cinematic background but ensures the face pops on small screens.
I was checking out some trends on Chrome Unboxed regarding 2025 image trends, and visibility is king. The “dark mode” aesthetic is out; “bright cinematic” is in. Huge. You want the glow, but you want it to highlight, not hide.
So, if you have these symptoms, low CTR, comments asking “is this AI?”, or just flat-looking images. try adjusting your approach.Be specific with your camera terms, watch your skin texture. For crying out loud, make sure we can see the eyes. That should fix this if you’re struggling with your portraits.
Frequently Asked Questions
What are the most common mistakes beginners make with Gemini Cinematic Glow?
Beginners often use vague prompts like “cool lighting” or just “cinematic,” which leads to oversaturated colors and plastic-looking skin texture. They also fail to specify a light source direction, causing the AI to place shadows randomly.
How does Gemini Cinematic Glow compare to other AI image editing tools?
Gemini is great for quick, conversational generation, but it often lacks the granular control over texture and lighting ratios that dedicated tools like Nano Banana Pro offer. Other tools tend to handle skin texture realism better without complex negative prompting.
What specific features of Gemini Cinematic Glow are most problematic for intermediate users?
Intermediate users struggle most with “bleed,” where the glow effect washes out facial details and reduces contrast in key areas like the eyes. Not even close. Controlling the intensity of the glow so it doesn’t overwhelm the subject remains a major pain point.
Related Content
• mistakes
For more on this topic, check out: mistakes
Listen to This Article
